
How to Pack a Hiking Backpack
So you’re going to take a backpacking trip. You’re about to spend a weekend – or a week – carrying everything you need for survival and fun. Just think of all the things you’ll be leaving behind; demands from coworkers, constant text messages, and pesky things like “adulting” and “responsibility” can fall by the wayside for a bit.
Videos by Outdoors
On the other hand, just think about what you have to bring with you. You’ll need a sleeping bag, a mat or air mattress, a tent, water, a water filter or purifying tablets, cooking supplies, food, a first aid kit, and a few changes of clothes. And that’s before you’ve brought anything fun, like a camera, binoculars, or a deck of cards.
So how do you get all of that from your car to your campsite?
A backpack is how. So stick with us, because we’re about to show you how to pack a hiking backpack.
Choosing the Right Backpack
Before you load up, you’re going to need a backpack. Broadly speaking, there are two types of backpacks that are commonly used for hiking: internal frame backpacks and external frame backpacks.
- Internal frame backpacks have a heavily-padded frame that’s surrounded by the shell material. These backpacks are typically more comfortable than external frame backpacks since there are no protruding frame parts to dig into your skin. They also usually have a larger capacity. On the other hand, they’re more expensive, and they can be harder to pack. The Teton Sports Explorer 4000 is a great budget option if you’re just getting started with backpacking.
- External frame backpacks have a large steel or aluminum frame that rests on your back, with the backpack shell hanging on the back. These backpacks can be easier to pack, since the frame typically extends past the shell, providing a convenient surface for tying down your backpack. On the other hand, they usually have less capacity than internal frame packs, and many models are uncomfortable to carry. If you want to go this route, take a look at the Kelty Trekker.
Pack the Biggest Things First
Whether you’re learning how to pack a hiking backpack or how to load a moving truck, one universal rule of packing applies: pack the biggest things first. Set your sleeping bag aside. Set your mat aside too if it’s a roll-up style mat. Yes, they’re big, but they’re not going inside your backpack. We’ll deal with them in a minute.
Now, think about things you might need to access in an emergency. Your first aid kit, your flashlight, your knife, and your water bottle all fall into this category. Set those in another pile.
What you have left is a pile of things that you aren’t going to need to access quickly. Choose heavy, dense objects like your tent, air mattress, and your camp stove fuel and place them in the bottom of your pack. Next can go mid-weight, durable materials like your camp stove, your clothes, freeze-dried food, rope, and other supplies.
Now, put your first aid kit on top, along with your water bottle, knife, and the other emergency supplies you’ve set aside. Alternatively, if your backpack has several secondary pockets, these are ideal for emergency supplies. Most backpacks have a pouch or pocket for a water bottle, and many have at least one or two pockets that are suitable for a first aid kit.
Either way, you’ve got a backpack with the biggest, heaviest supplies on the bottom, and you’ve got your emergency gear close at hand when you need it. Now you won’t have to be rummaging around in the bottom of your pack for antibiotic ointment and bandages while your buddy is bleeding.
Tying It All Together
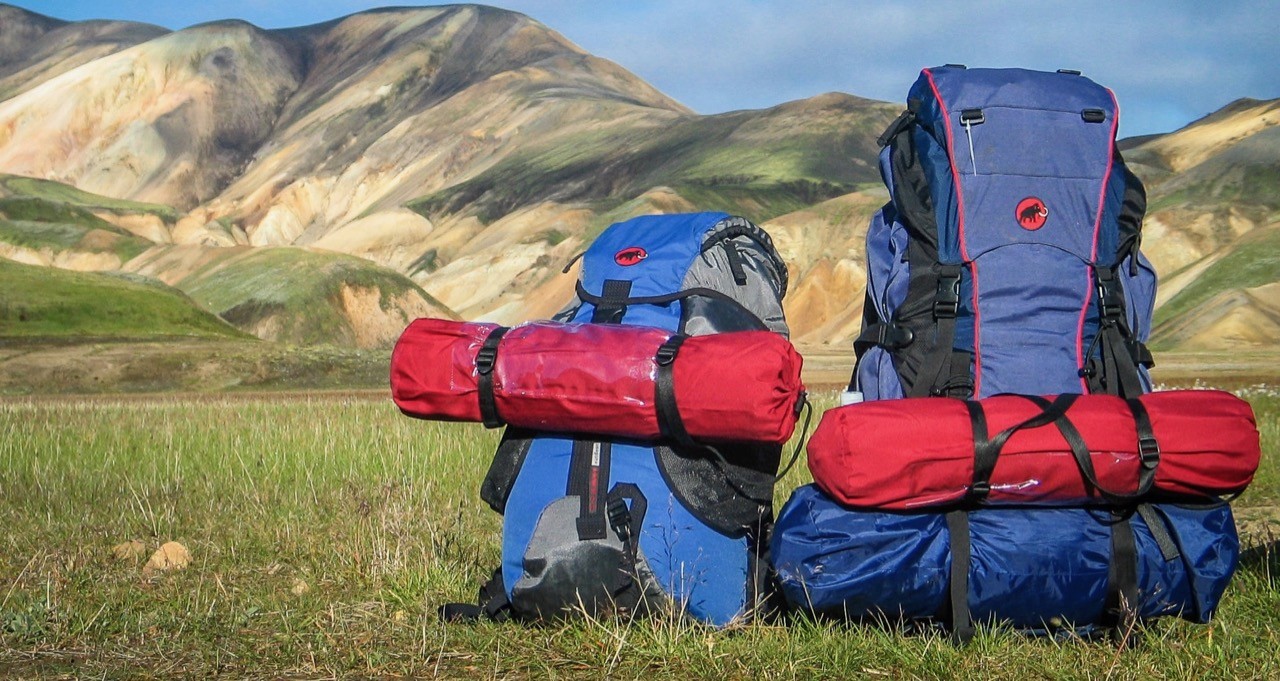
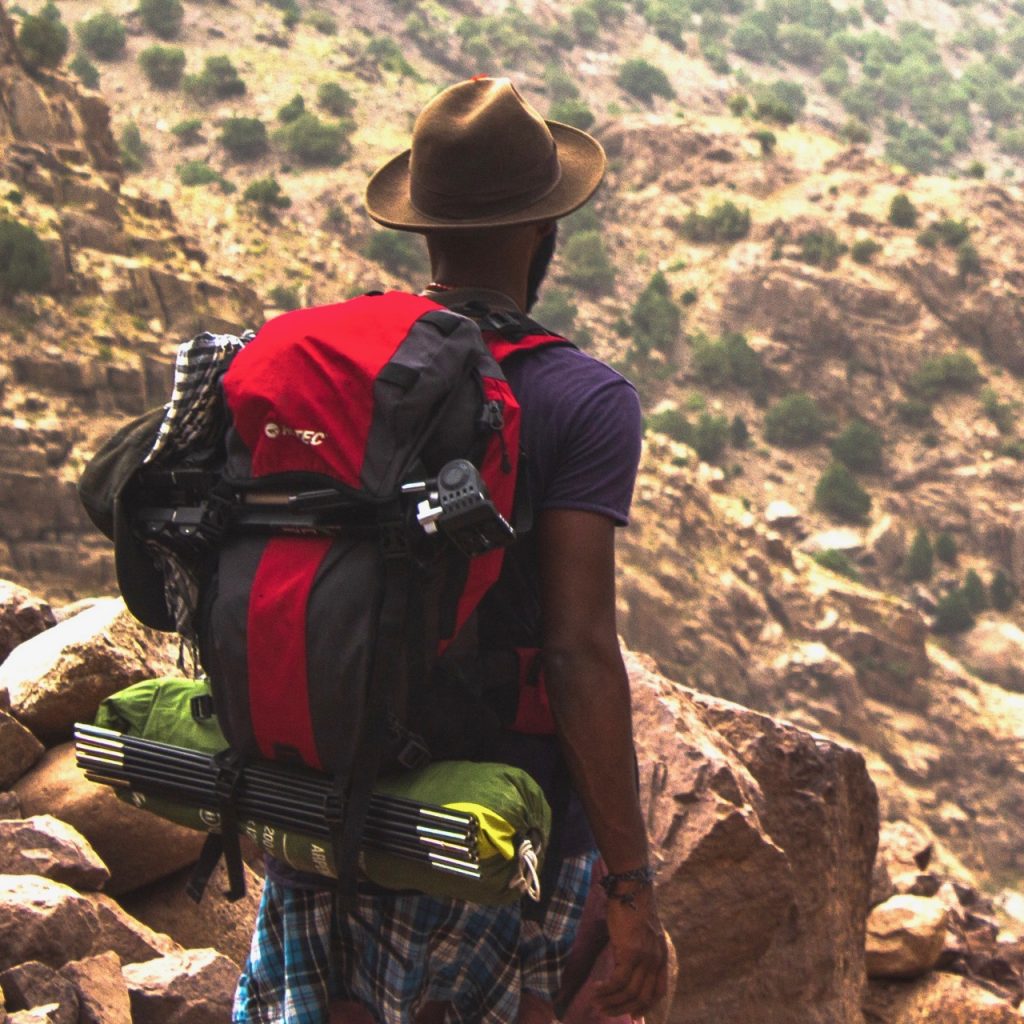
How you proceed here is going to depend on how your backpack is designed and what kind of sleeping gear you use. First, let’s take a look at how to carry your sleeping bag. When it’s properly rolled up, your sleeping bag is a compact, heavy piece of gear. To make your backpack as easy as possible to carry, you’re going to want that big lump of fabric on the bottom.
On an external frame pack, use bungees or rope to tie your backpack to the bottom of the frame. If you’ve got it tied on correctly, it should be secured firmly in the gap between the bottom of the backpack shell and the bottom of the frame. On an internal frame pack, you’ll need to find D-rings or other suitable attach points for tying your sleeping bag in place.
No matter which kind of backpack you use, make sure your sleeping bag is protected by a waterproof cover. Even the warmest bag won’t do you any good if it’s soaking wet.
Finally, if you have a sleeping mat, you’ll want to secure it to the top of your backpack. It’s lightweight, so it won’t be a problem up there. Tie it to the frame if you have an external frame pack, or strap it down under the backpack cover if you have an internal frame pack.
And there you go. You’re ready to hit the trail!


