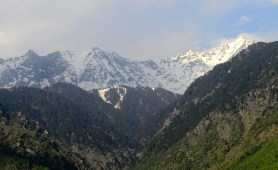
The first priority of survival in general is to seek the protection of a shelter, and that goes doubly if you’re in sub-zero temperatures. Often, especially if you’re above the treeline, that shelter must be made from snow.
Videos by Outdoors
“Snow can save your life and will insulate you far better than the metal of a broken-down car, for example,” says Bear in Born Survivor. “A well-built snow shelter can be as much as 30°C (86°F) warmer than it is outside.”
Don’t wait till nightfall to hunker down
First, you’ll want to make your shelter during the daytime when you can see what you’re doing. But not only will it be dark once the sun sets, temperatures will drop even lower at night and you need to avoid getting hypothermia.
Use any possible advantages of your environment
The wind is going to be one of your biggest enemies to staying warm. Look around for natural features like trees or rocks that can act as a windbreak. If you’re in the mountains, pick a wooded area for your shelter, as it will give you building materials and fuel for a fire.
One caution: Try to avoid hillsides where a lot of snow has built up or areas that could be risky for an avalanche.
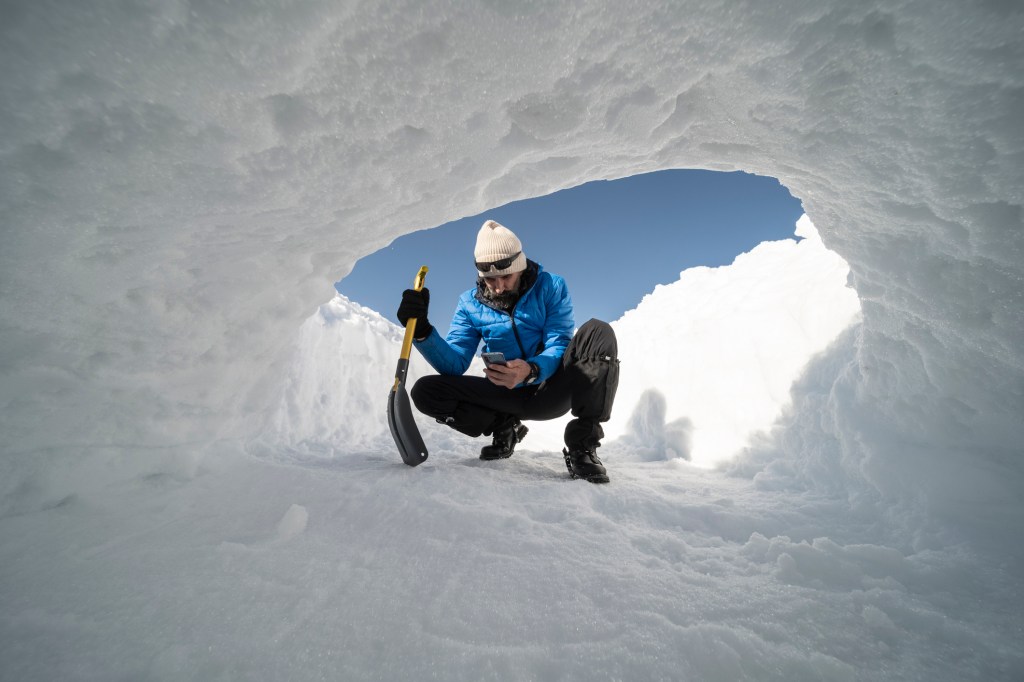
Keep ventilation top of mind
You will need ventilation in your shelter to avoid the build-up of carbon monoxide if you light a fire and/or the carbon dioxide from your exhaled breath if you’re well hunkered in the snow. However, you’ll want to close the entrance of your shelter to keep heat in, so a better way to keep air circulating is with two holes open in the roof.
“Keep a stick handy inside to poke up through them during the night when they start to freeze over,” says Bear. A ski pole also works well for this.
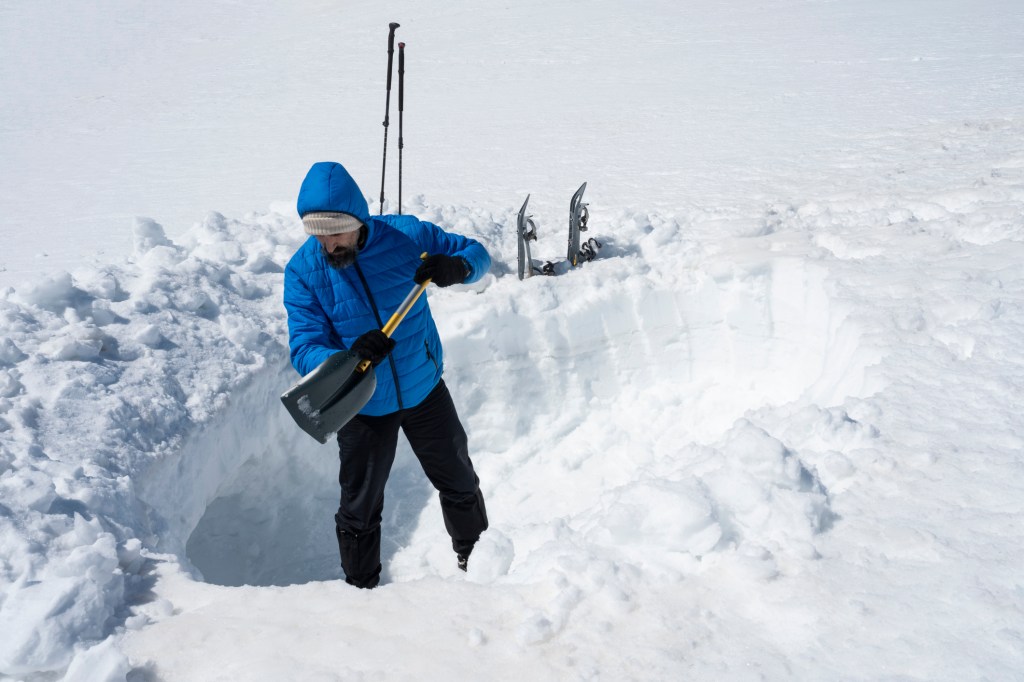
In an emergency: Dig a snow trench
If the snow on the ground is frozen hard, or in an emergency when you need a quick shelter, you can dig a shallow snow trench, just deep enough to protect you from the wind and wide enough to allow air to circulate. Orient your trench so the wind won’t blow snow over your entrance and bury you in.
Pile the snow you dig out along the sides of the trench to increase its depth without having to go deeper. Then, cover this with a tarpaulin or parachute canopy to make a roof, pin it down well to avoid collapse and cover it with more snow to serve as insulation.
If the snow is easy to compact, you can make ‘snow blocks’ to lay over the tarp on the trench, or even lean them against each other to form an A-frame shaped roof. Another option is to make a huge snowball, about a meter in diameter, cut it in two and lay both halves over the trench to make a roof. Build up a snow wall along your entrance as a blockade for the wind for further insurance against blowing snow.
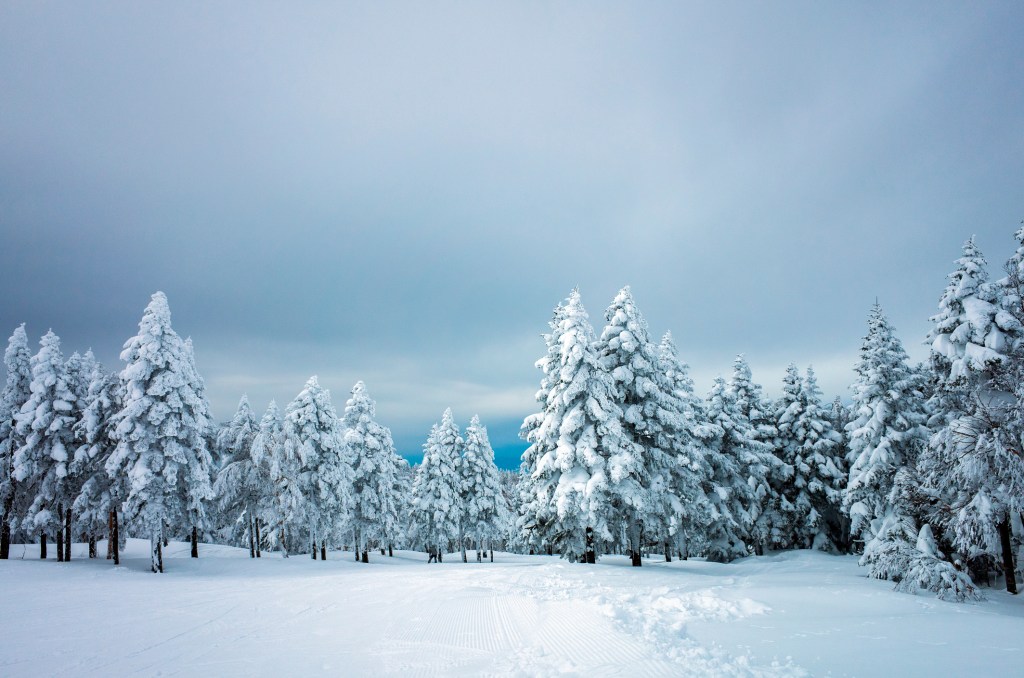
In an evergreen forest: Build a tree pit
In a conifer forest, you will find lots of potential shelters below trees. The wider canopy around the trunk near the ground provides a roof of protection and conceals a hole, while the dense upper branches act like an umbrella to prevent snow from building up.
“Choose a tree with a generous ‘skirt’ of branches on higher ground where the air will be warmer,” says Bear.
With some excavation below, and reinforcement of the covering branches with packed snow, an evergreen makes a fine shelter.
If building up is your best option: Heap up a quinzee
A quinzee or snow-mound shelter is the frigid version of a dome tent, wherein you make a large mound of snow, then hollow out the center.
Start by piling snow onto a pile of stones or a rucksack as a reverse mold. The mound of stuff should be just bigger than the size you will comfortably be able to move around in.
Embed sticks in the outer shell to use as a gauge for how thick the walls are. Before you add them, make a notch at the same point in each stick’s length. Then when you are hollowing out the interior, you can ensure the thickness of the snow is the same across the dome.
Using different sources of snow at different temperatures can help the mound to freeze and harden. Once it has hardened, dig an entrance, remove the contents that you used to shape it, i.e., the stones or mound of gear, and pat the inside walls firm and smooth.
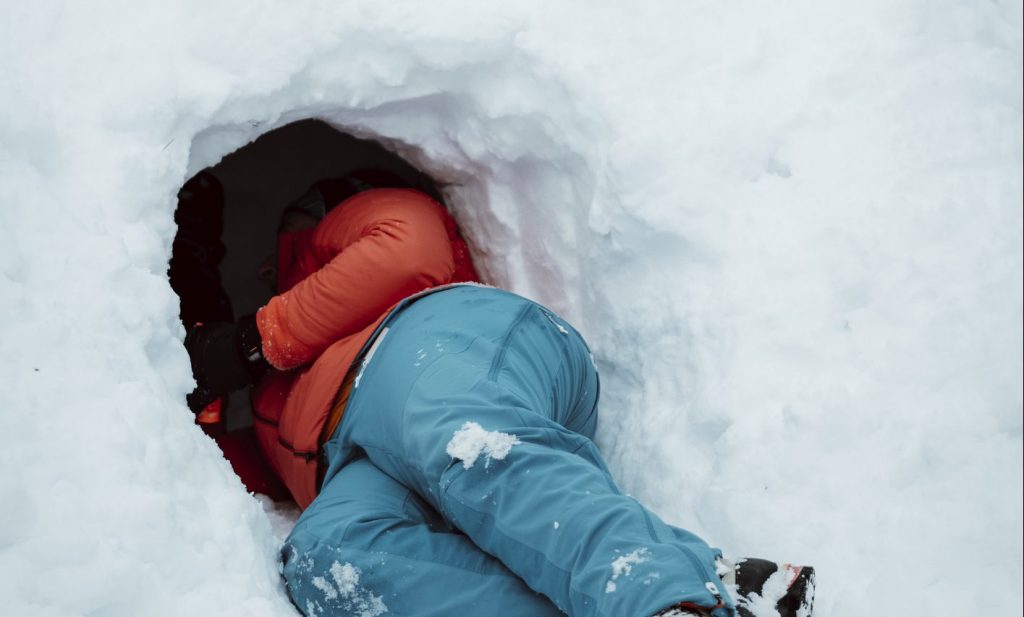
If digging down makes more sense: Excavate a snow cave
Man vs. Wild fans will remember the ‘Iceland’ episode with Jake Gyllenhaal, when Bear and Jake had to build a snow cave for overnight shelter from a storm. “In drift snow, digging a snow cave is as intuitive and effective as a rabbit digging a hole or a badger making a sett,” says Bear.
Excavate your shelter facing into the wind and make a snow wall at the entrance to protect from the wind, so that if snow drifts build up, you won’t be trapped.
Dig upwards into the shelter, so that the entrance is below the floor level, and keep a higher area as a sleeping platform or shelf, away from the cold well at the door where cold air can sink into.
You can also make a snow hole on flat ground by digging a tunnel entrance and hollowing out below.
Best left to the experts: Igloos
Igloos are efficient shelters, but Bear advises against them unless you’re an expert, as they take a long time to build and require the right knowledge, the right snow and the right tools.
“Making snow blocks can take a long time and will almost certainly be beyond your immediate scope in a survival situation,” says Bear. “The snow must be the correct type and you will need an ice saw to cut them. Powdered snow is useless for building igloos and will not be practical.”
Bear’s top tips for building snow shelters
- Strip off clothing layers while you build the shelter to avoid soaking your clothes in sweat.
- Keep the shelter about three times your own size or smaller so there’s less of an area to heat.
- Remember that snow compacts, so the roof may get lower. “Allow a margin for this snow shrinkage to avoid getting entombed,” says Bear.
- To conserve heat, keep the entrance as small as possible and keep it covered up when you’re inside.
- Don’t sleep on the ground. Have a layer of insulation between you and the snow – you can use branches, foliage, a rucksack or a parachute canopy.
- Make sure the interior temperature stays below zero so the shelter does not melt. “If you can’t see your own breath, it’s too warm,” says Bear.
- Smooth the snow roof inside to avoid dripping icicles, which will soak you and your gear. Dig a channel around the walls inside, to collect melt water from your body heat.
- Have an escape method in case your snow shelter collapses—and keep your digging tool close in case you must muscle your way out.
- If you need to pee, go on the floor in the shelter. The urine will dissipate through the snow, and you won’t lose vital heat by going outside.
More from Bear Grylls
- How to Make a Toothbrush in the Wild
- Driving in the Snow
- How to Build Shelter in a Forest
- How to Survive Sub-Zero Temperatures
- What to do If You’re Bitten by a Snake
- How to Navigate Without a Compass