Mushrooms are one of nature’s most incredible gifts, not only for their vital place in the ecosystem but also for the way they taste and nourish us. Unfortunately, they can be a little expensive in grocery stores. While foraging can be rewarding, it is hard work (and a little anxiety-inducing, since some of them can kill you). And what about those of us without easy access to green spaces? An in-home setup is a great solution and completely within your reach. Here’s how to grow mushrooms in your kitchen.
Videos by Outdoors
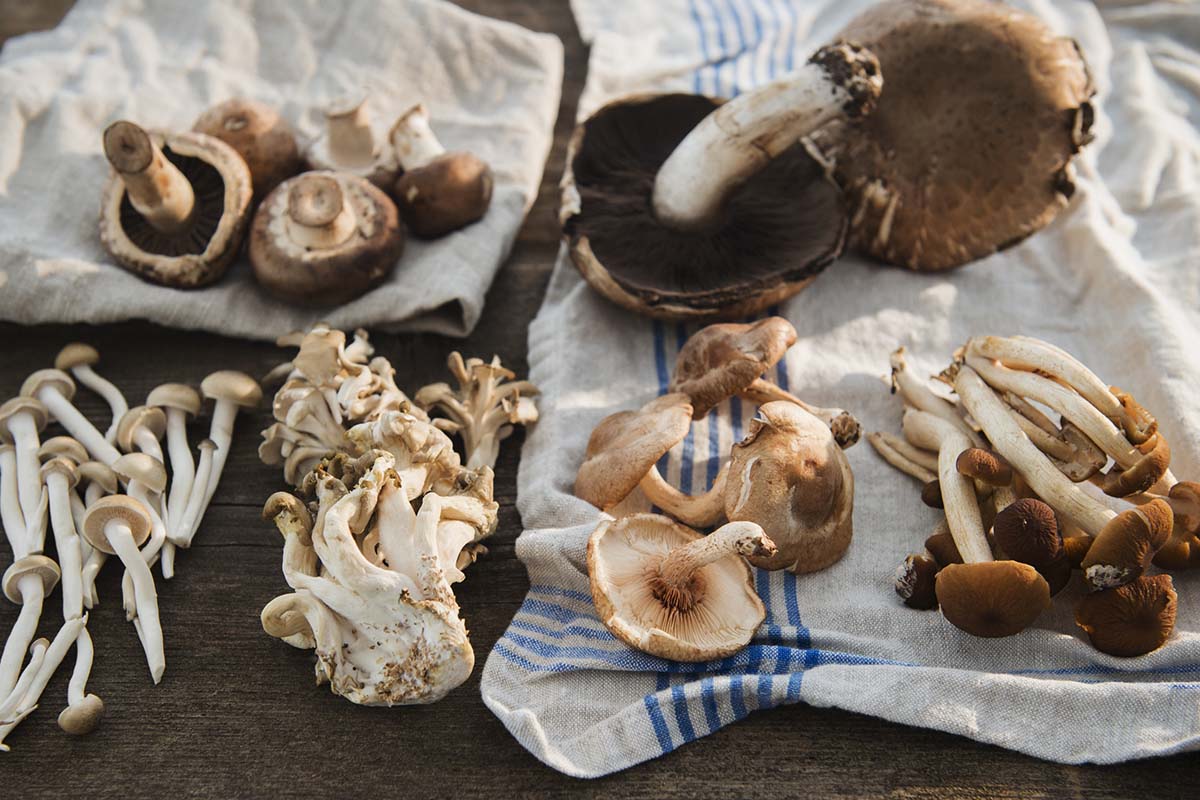
Step One: Which Mushroom Is Best for You?
All mushrooms are different, of course, and they may vary slightly in the environments they prefer. Oyster mushrooms are a common choice for beginners, as well as turkey tail or shiitake. It’s important to know what you want from the beginning, though, so that you can tailor your growing setup to that variety.
Easiest Option: Buy a Kit
There are plenty of services out there that will send you everything you need to get started. These kits will include whatever substrate you need, likely in the form of wood chips or sawdust, and likely some hydrated lime. They will also include wooden dowels or some similar host material pre-inoculated with mushroom spawn. From there, it’s mostly a case of mixing these ingredients and storing them properly.
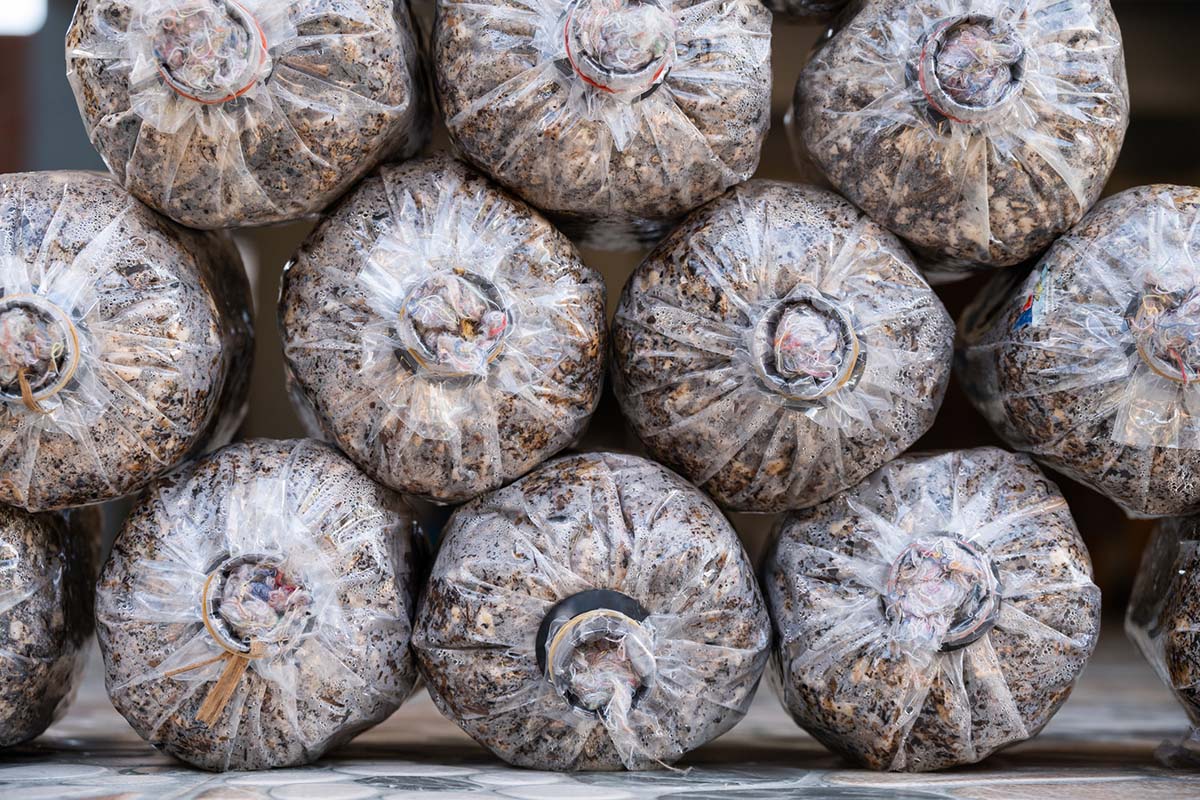
It’s All in the Mix
Your kit might come with a storage system, but otherwise, grab a plastic bucket or tub of some kind, clean it well, and get your substrate in there. You need to hydrate it properly, so it’s moist but not wet. When you grab a handful and squeeze it in your hand, it should drip a little bit of water and hold its shape. If your kit includes lime, mix that in. Then, mix in your spawn, evenly and well, ensuring as many points of contact as possible.
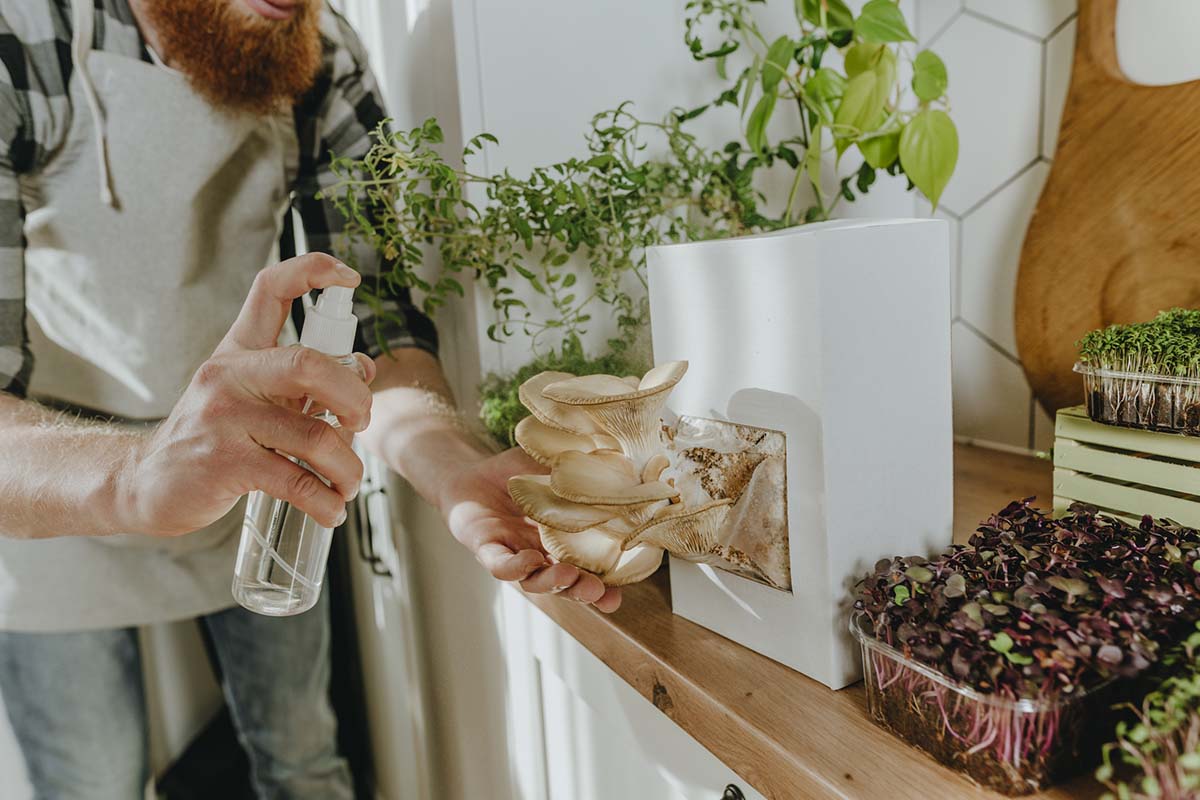
But Where in the Kitchen Do You Put It?
There are a few key points here. First, no matter where you put it, you have to maintain your mixture’s humidity and moisture throughout the growing process. A spray bottle should do the trick, and a plastic bag as a cover will help maintain humidity.
Temperature and Incubation
Got a thermometer handy? For incubation, you’ll want your mushrooms to live at around 68-70 degrees Fahrenheit. Depending on where you live, this may mean keeping it near a refrigerator’s exhaust for that warm air or an open window that gets some sun. Be sure to avoid direct sunlight, though. You’ll know your mushrooms are properly incubated when you see those white threads, mycelium, spread all throughout the substrate.
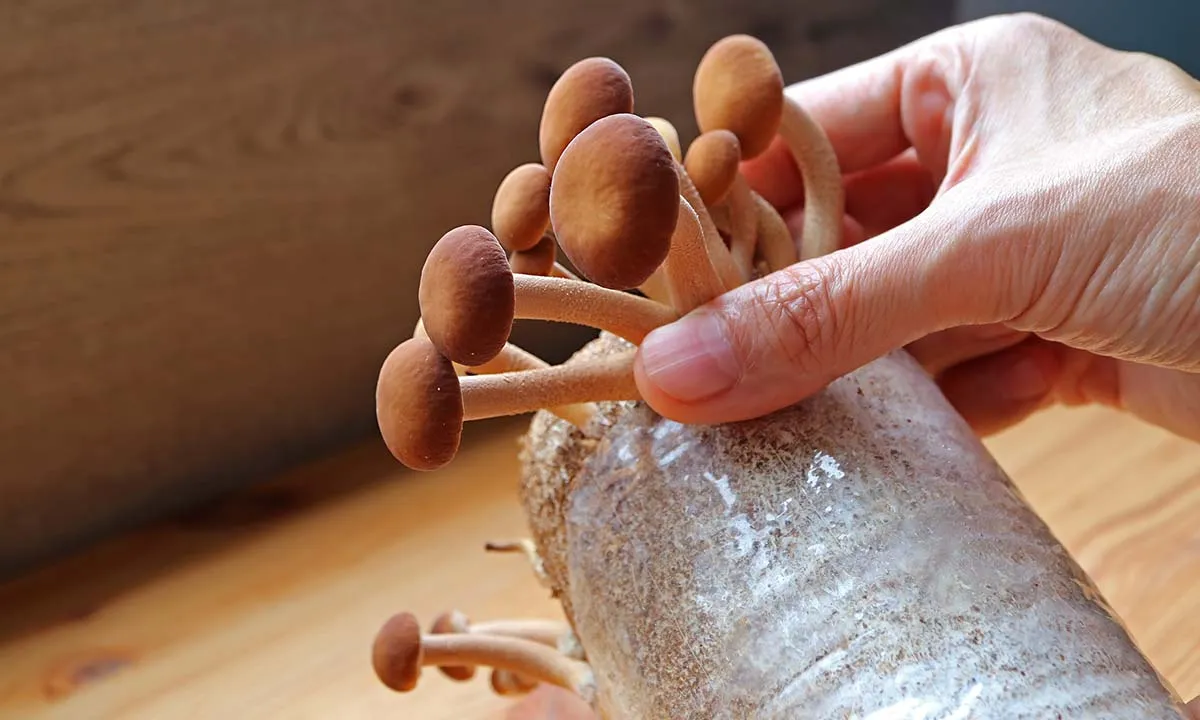
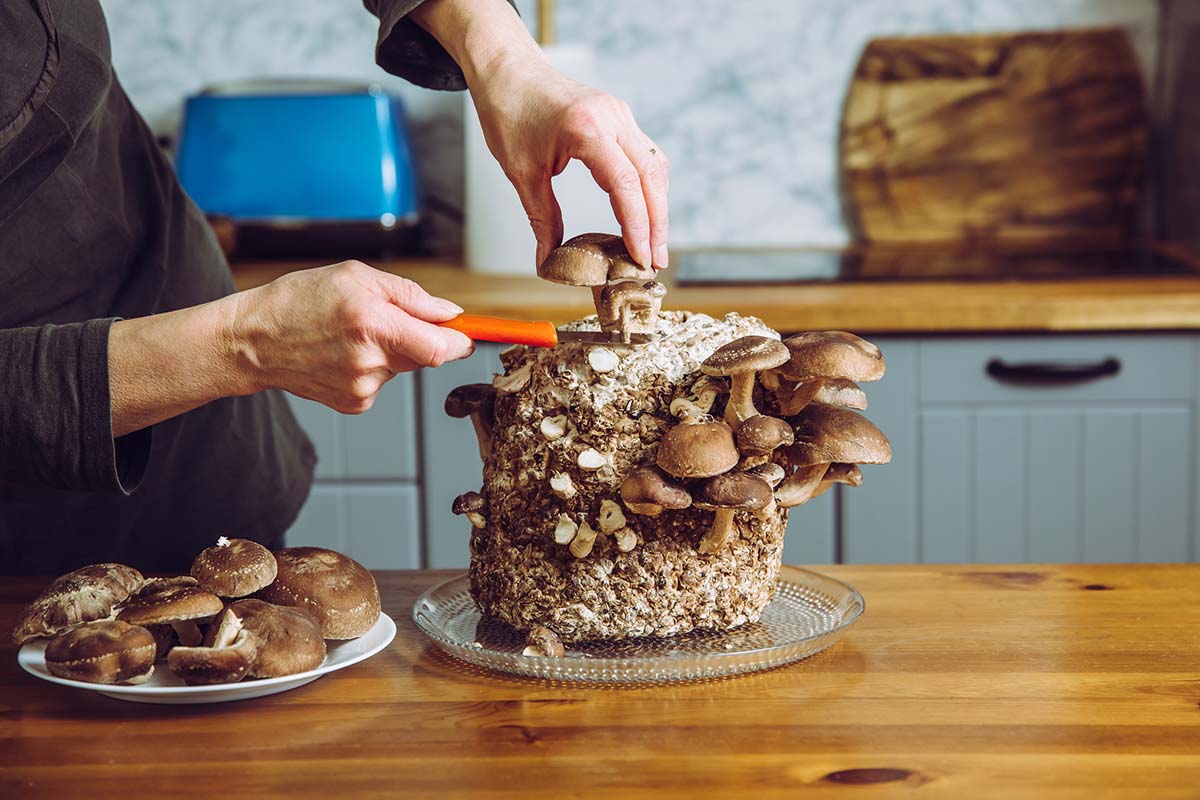
Fruiting
After incubation, bring the temperature down a little, into the low 60s. From there, it’s a waiting game, ensuring that you maintain humidity and moisture. When you see the mushrooms grow to a healthy size, it’ll be time to harvest and enjoy.
Intermediate: Buy the Spawn and DIY
You can save a little money and lean further into your own capability by simply buying the spawn and creating your own setup from scratch. A key difference in this approach will be finding or creating your own substrate.
Sourcing the Substrate
For this, you’ll want to harvest or source hardwood of some kind. No pines or conifers, since they’re too resinous. Oak, poplar, birch, or ash should all make great homes. If you opt for wood chips or sawdust, they should be made from these varieties of wood. You can also use cut hardwood logs, so long as they’re freshly harvested. Coffee grinds are a viable option, so long as whatever mushroom variety you grow can thrive in that acidity.
Sanitization and Pasteurization
If you’re using wood chips or sawdust, you’ll need to ensure that you don’t have some rogue bacteria or living things in your substrate. For this, you can place your substrate in a baking sheet and place into an oven, around 140-160 degrees Fahrenheit, for 10-20 minutes. Not enough to burn, just enough to sanitize. Alternatively, you could cover your substrate with boiling water, and that should work fine as well.
This process has the same effect as that lime mixture that would have come in your kit. Its alkaline qualities prepare your substrate in much the same way, so if you’re feeling ambitious, you could source some lime, find the right mixture, and go that route instead.
Adding the Spawn
Now, you can add the spawn. If you’re using wood chips, double-check your moisture levels. Mix in your spawn, cover it to maintain humidity, and let it be. Follow the same incubation and fruiting steps as you would with a kit, spraying it with water so it doesn’t dry out.
If you’ve opted to use a hardwood log, to add your spawn, you’ll want to drill into the log. Insert your inoculated dowels or whatever form your spawn came in. Follow the same processes until you see a lot of healthy mycelium. Here’s a tip for using logs: soaking them overnight in water can help trigger fruiting, if they’re ready.
Advanced: Creating Your Own Spawn
Essentially, this last step is a crash-course in cloning mushrooms. For this, you’ll need some internal mushroom tissue, so harvest a piece from the gills. Place it in a jar with some sanitized grain such as barley, wheat, or millet. For this, a microbe-proof air filter covering the jar can help the mycelium grow safely and without competition. Placing the mushroom tissue in between two sheets of damp, sterilized cardboard can also work. Grain is recommended, though, because when you later spread the spawn throughout your substrate, there will be a lot of points of contact.
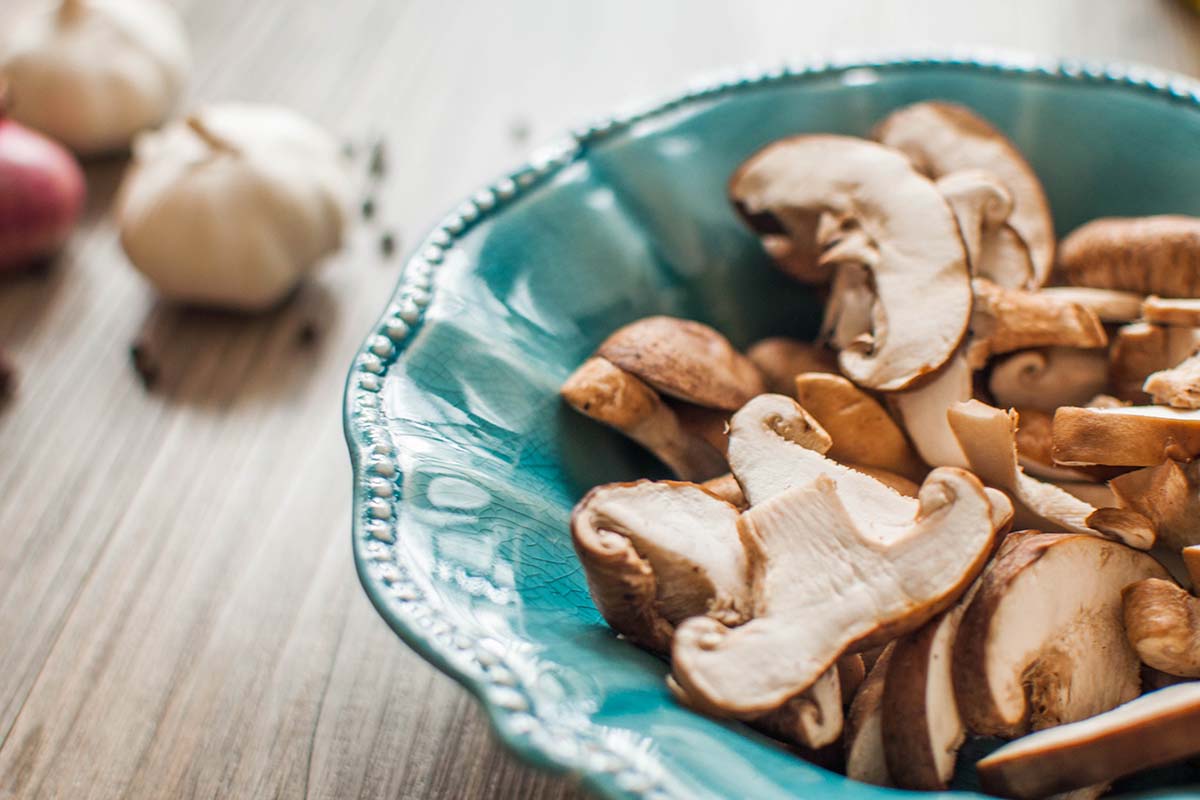
What Will You Grow?
Now that you know some techniques, do you have a sense of what mushroom you want to grow? Will you opt for a shiitake or oyster, for taste? Will you grow reishi for its medicinal benefits? It’s hard to go wrong, but it’s easy to do. The rest is up to you.