
Fall brings about a plethora of natural materials ripe for crafting. A wonderful way to express a love of nature and spend quality time with children is to gather materials outdoors and create beautiful expressions of art. Hang these crafts around the house for a festive celebration of the season.
Videos by Outdoors
Acorn Necklaces
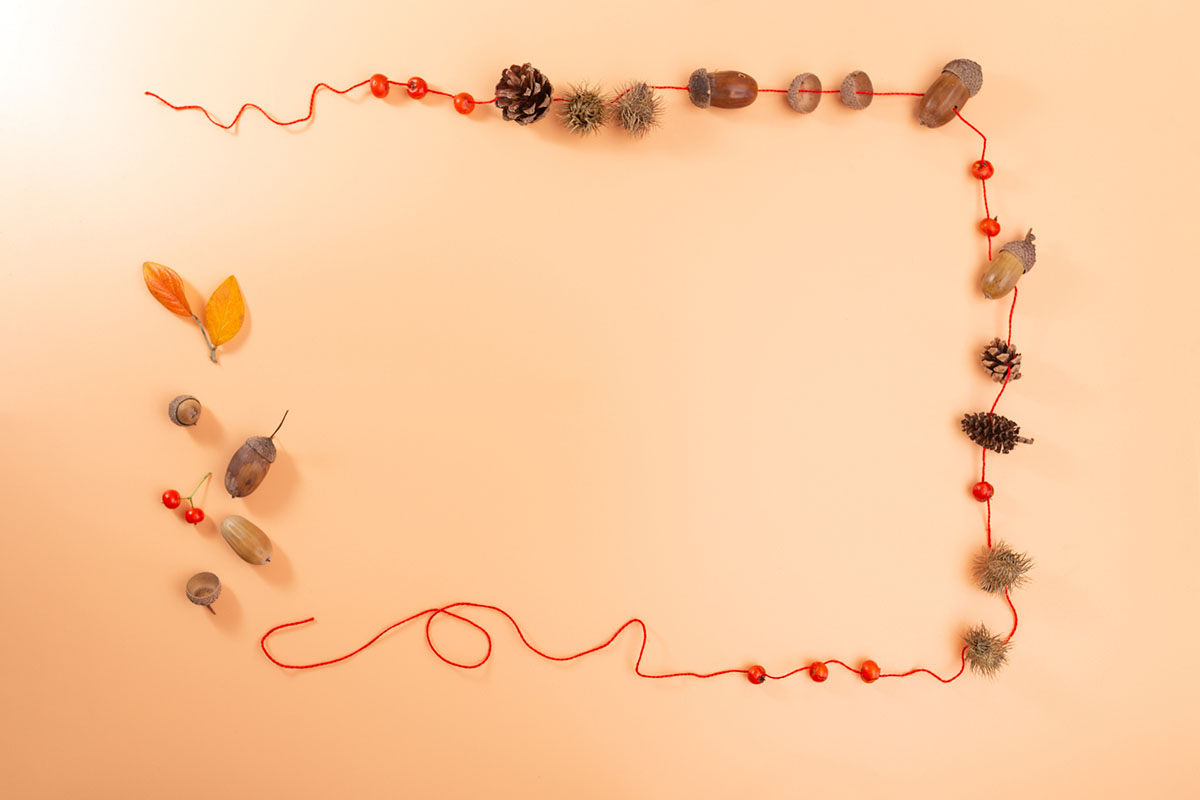
Begin to make these cute fall accessories by collecting acorns (or raiding the stash you already have.) It’s tempting to collect handfuls of them, but don’t forget to leave some for the squirrels and chipmunks. Once home, separate the tops of the acorns from the bottoms. Bake the acorns for one hour on a foil-lined cookie sheet at 175 degrees Fahrenheit. Once the acorns cool, drill two small holes across from each other length-wise on each acorn top to resemble a button. Cut a piece of string or twine that will be long enough to make a necklace that fits over the wearer’s head. Thread the twine or string through the hole in the top of the acorn and tie a knot. Repeat by threading the other end of the string/twine into the other hole and tying it off.
You can keep the acorn color natural, or you can paint it to the desired color. It may take several coats. After the paint is dry, draw faces on the acorn with Sharpies. Put some Mod Podge onto the acorns to seal them. Glue the acorn tops and bottoms back together using hot glue or other bonding glue. Let dry and set. Once ready to go, wear your new acorn necklace with delight.
Items needed:
- Acorns
- Bag to collect acorns
- Oven
- Foil-lined cookie sheet
- Drill and drill bit 5/64th or smaller
- String or twine
- Scissors
- Acrylic paint
- Paintbrushes
- Thin Sharpies
- Mod Podge
- Sponge paintbrush
- Hot glue or bonding glue (E600)
Autumn Suncatcher
The sun’s rays can create colorful beauty. Start by collecting colored treasures—from leaves to flowers—to create a sun catcher. Cut two pieces of contact paper into the desired shape (each piece should match). Peel off the backing on one sheet. Press your flowers and leaves down firmly onto the contact paper. Peel off the backing of the second sheet and apply it on top of the first sheet so it lines up.
Seal the contact paper sheets. Hole punch the top of the contact paper and add the string to hang. Find a sunny spot to hang the suncatcher or use tape to adhere it to a window.
Items needed:
- Transparent contact paper
- Leaves and flowers
- Bag to collect leaves and flowers
- Scissors
- Hole punch
- String
- Tape
Bird Feeder
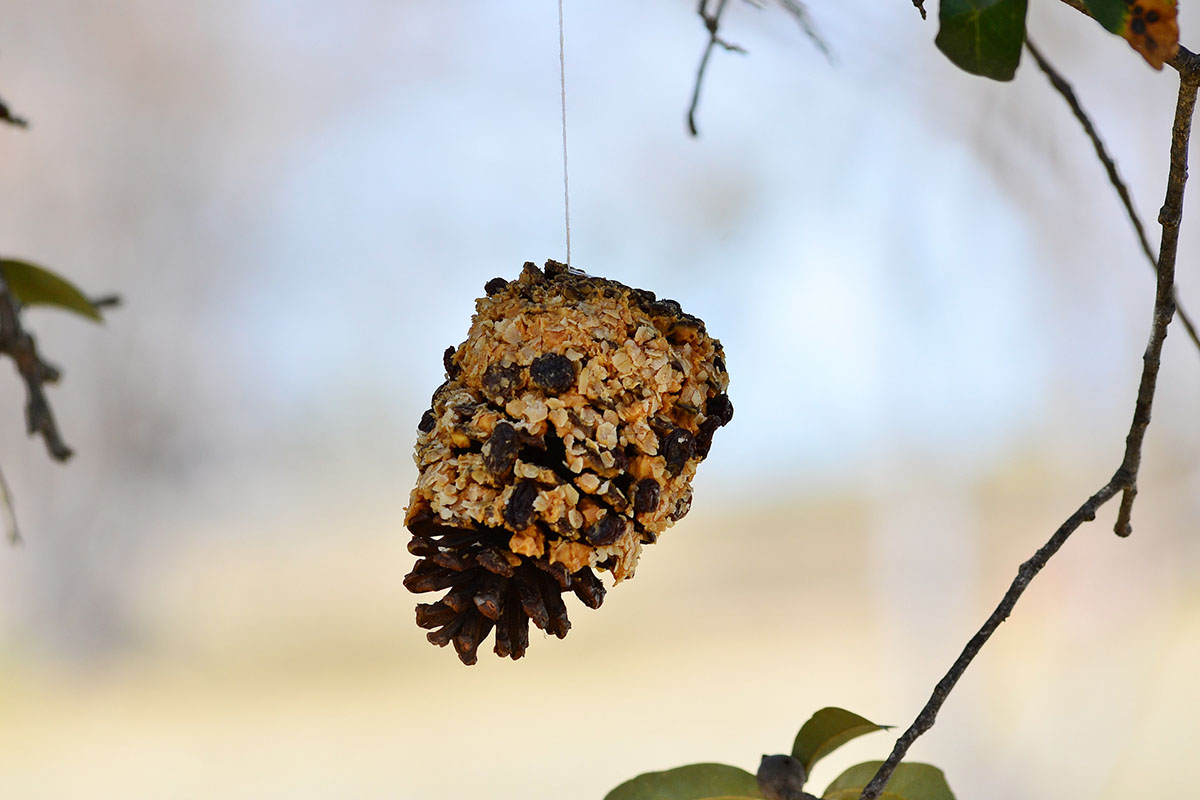
In the fall, food is harder to come by for birds, squirrels, and other animals. This is the perfect time to help them by creating simple bird feeders using nature. Collect some pinecones on a leaf-peeping hike. Once home, tie some twine around each pine cone (for hanging it off a branch when you’re done creating). Spread peanut butter all over the pinecone. Roll the pinecone in wild bird seed. Find a good location that birds frequent and hang your pinecone there.
You can also put that carved pumpkin to good use after Halloween. Cut the bottom off a pumpkin to create a bowl to hang filled with birdseed. Consider adding small branches for birds to rest upon as they eat the seeds.
Items needed:
- Pine cones
- Bag to collect pine cones
- Peanut butter
- Spoon or knife
- Bird seed
- Twine
- Scissors
- Pumpkin (optional)
Clay Pressings
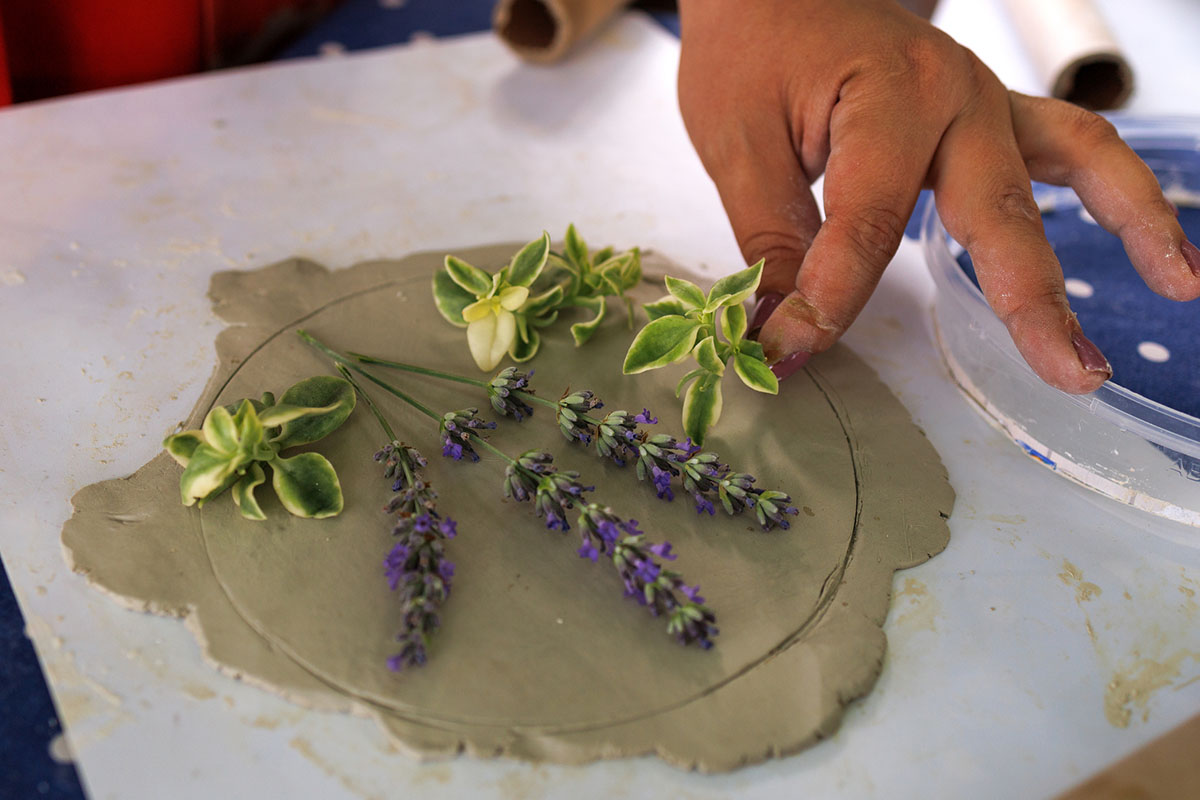
Using air-drying clay, you can make beautiful coasters, bookcase decor, or hangings to make 3D nature art. Begin by collecting items like flowers, leaves, or other flat items.
Once you have a collection, make a ball of clay. Roll out the clay using a rolling pin and form it into the desired shape. (Put a hole in the top of your clay with a pencil, if you plan to hang it once it’s dry.)
Press your item(s) down flat into the clay, being sure that each impression shows the details of the item, like the veining of a leaf or flower. Use water to smooth any edges.
Carefully remove the item and discard it. Add Mod Podge with the paintbrush to your clay for extra preservation. Wait 24-48 hours for the clay to dry. Attach a string through the hole and hang your 3D art, if desired, or put the item where you would like to display it.
Items needed:
- Air-dry clay
- Flat items like leaves and flowers
- Bag to collect leaves and flowers
- Pencil
- String
- Scissors
- Knife or clay-cutting tool
- Rolling pin
- Warm water
- Mod Podge
- Sponge paintbrush
Crown of Leaves
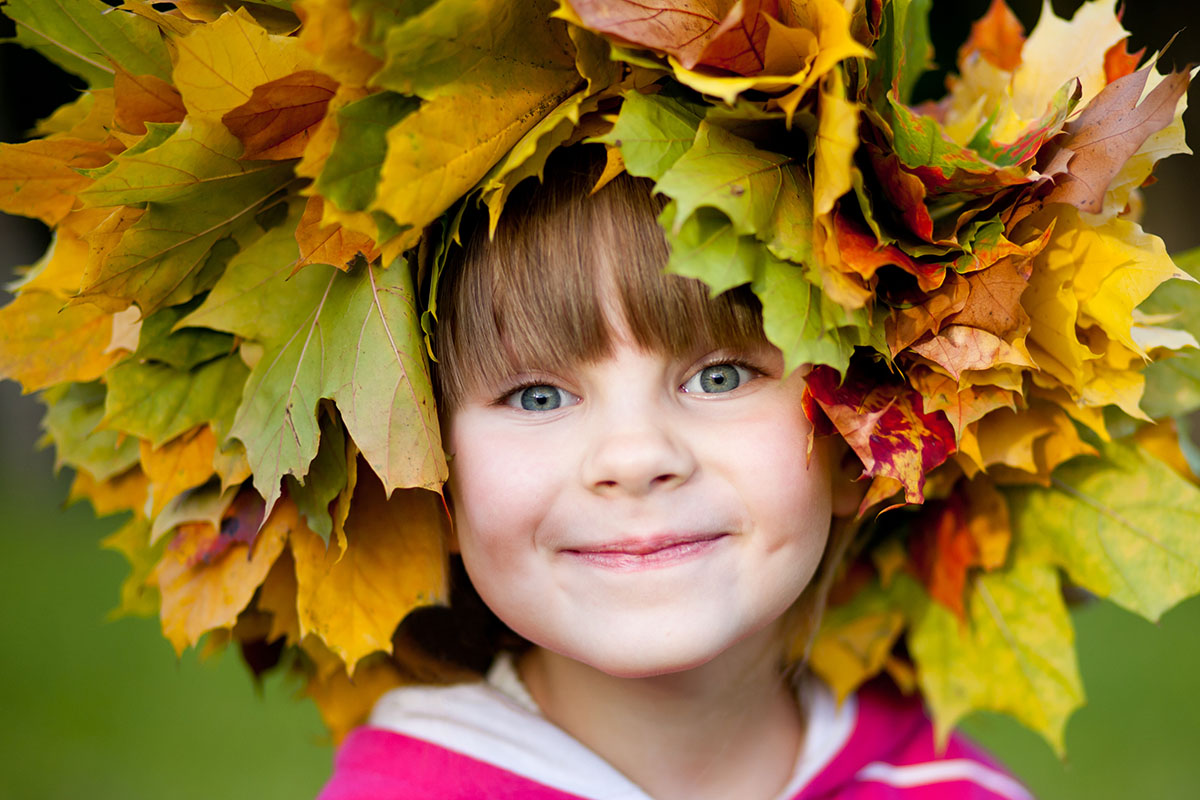
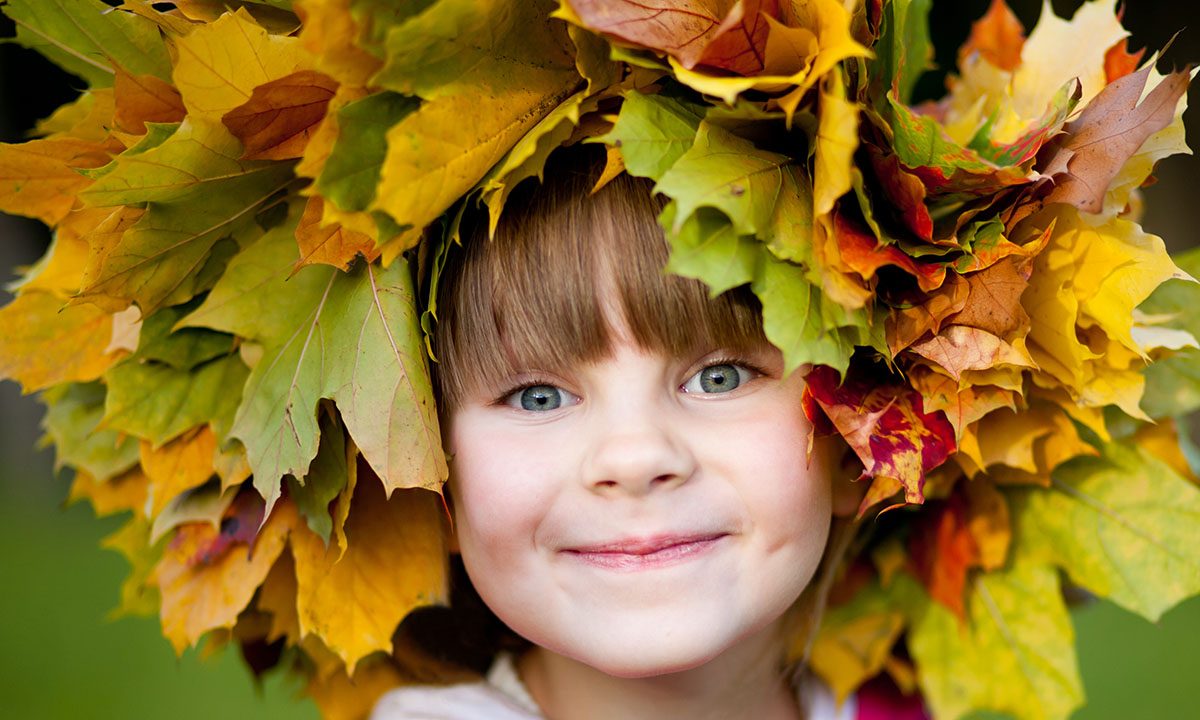
To make a crown of leaves, begin by collecting leaves of various sizes, shapes, and colors. Once you have your leaves, measure the circumference of each wearer’s head. (Consider making a set for the whole family to wear on Thanksgiving.)
Cut a wide strip of construction paper a few inches longer than the length of each head circumference. Test the strip to make sure you have the right size before adding the leaves to the “crown.” Glue the leaves all around the strip. Allow the glue to dry. Add Mod Podge with the paintbrush to the leaves to add some stability. Once the Mod Podge is dry, staple the crown ends together.
Items needed:
- Leaves
- Bag to collect leaves
- Mod Podge
- Sponge paintbrush
- Construction paper
- Tape measure
- Stapler
- Scissors
- Glue

Fall Name Plate
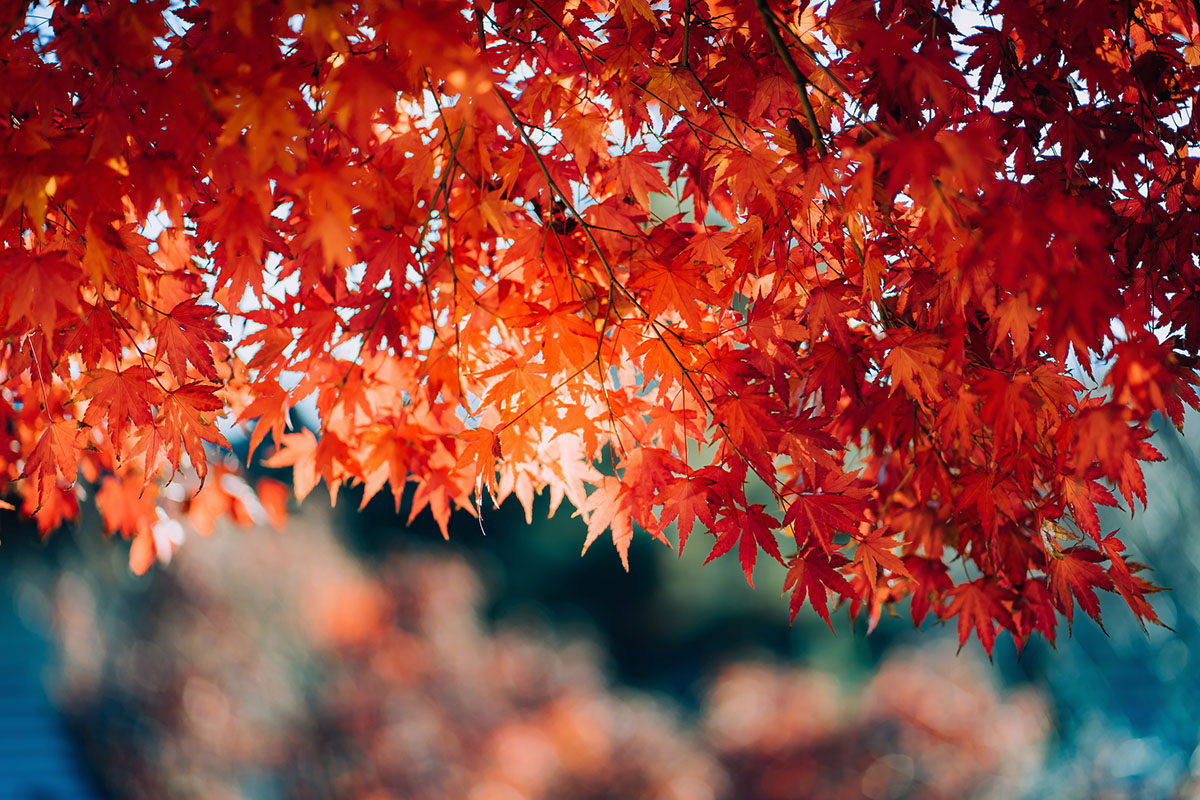
Create a name plate for a bedroom door with items you collect on your fall adventures. First, take a bag with you outdoors and collect items you find. On a piece of construction paper, pencil the letters of the name in large box letters.
Glue the fall items you collected onto the paper inside of the box letters. You may need to trim down the items to make them fit. Once the glue has dried, hang the name plate on a bedroom door with tape.
Items needed:
- Construction paper
- Glue
- Pencil
- Lightweight fall items (flowers, sticks, acorns, corn stalks, leaves)
- Bag to collect items
- Tape
- Scissors
Lantern
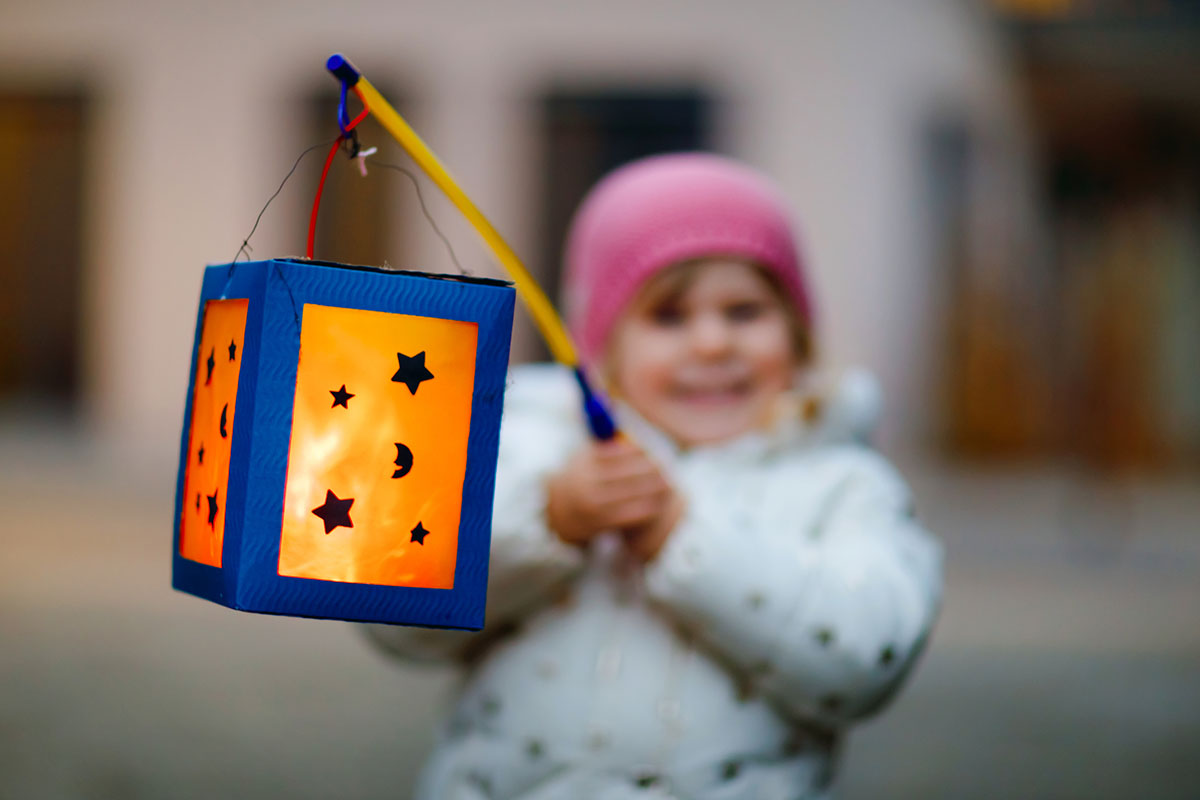
A leftover mason jar (or jam jar) can make a beautiful base for a lantern that can be used throughout the fall and beyond. Take a hike or walk through the woods and collect a variety of dry leaves (flat ones work best) that are different shapes, sizes, and colors. Adhere the leaves to the outside of the mason jar by applying a thin layer of Mod Podge on the mason jar using a sponge paintbrush, placing the leaves where you want them, and then applying another layer of Mod Podge on top of the leaves. Let the craft dry. Add a tea light of string lights inside the jar and wrap some string around the grooves at the top for a more finished look.
Items needed:
- Mason jar
- Leaves
- Mod Podge
- Sponge paintbrush
- String
- LED tealight or string lights
Leaf Animals
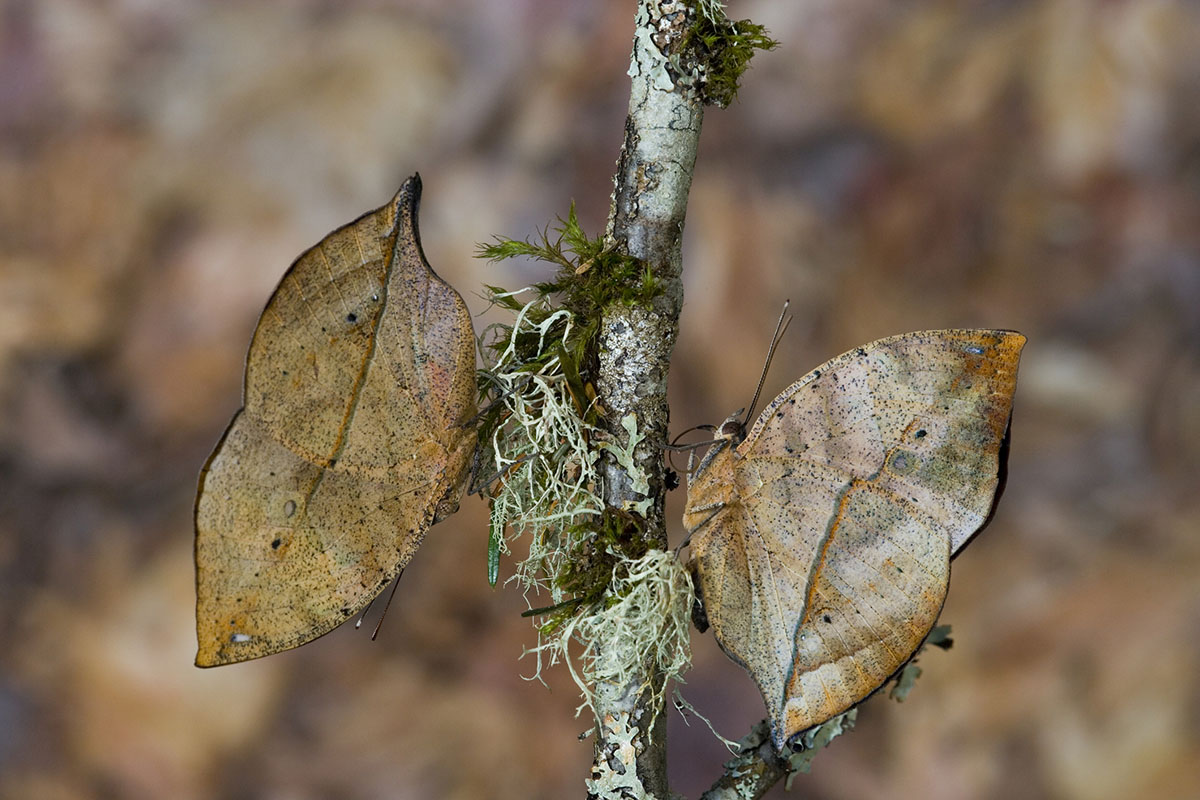
Use leaves in different shapes, sizes, and colors to create animal faces or full animal bodies. Begin by collecting a bunch of various leaves. Using cardstock for the background, glue a leaf (or leaves) onto the cardstock. Paint or use markers to create an animal face or an animal body. Don’t be afraid to cut up leaves to get the desired shape(s).
Here are some great ideas for different leaf animals. Once you are happy with your animal, add Mod Podge with a paintbrush to seal and protect your creation. Let it dry before displaying it.
Items needed:
- Leaves of all shapes, sizes, and colors
- Bag to collect leaves
- Paint
- Markers
- Scissors
- Cardstock
- Glue
- Mod Podge
- Sponge paintbrush
Nature Garland
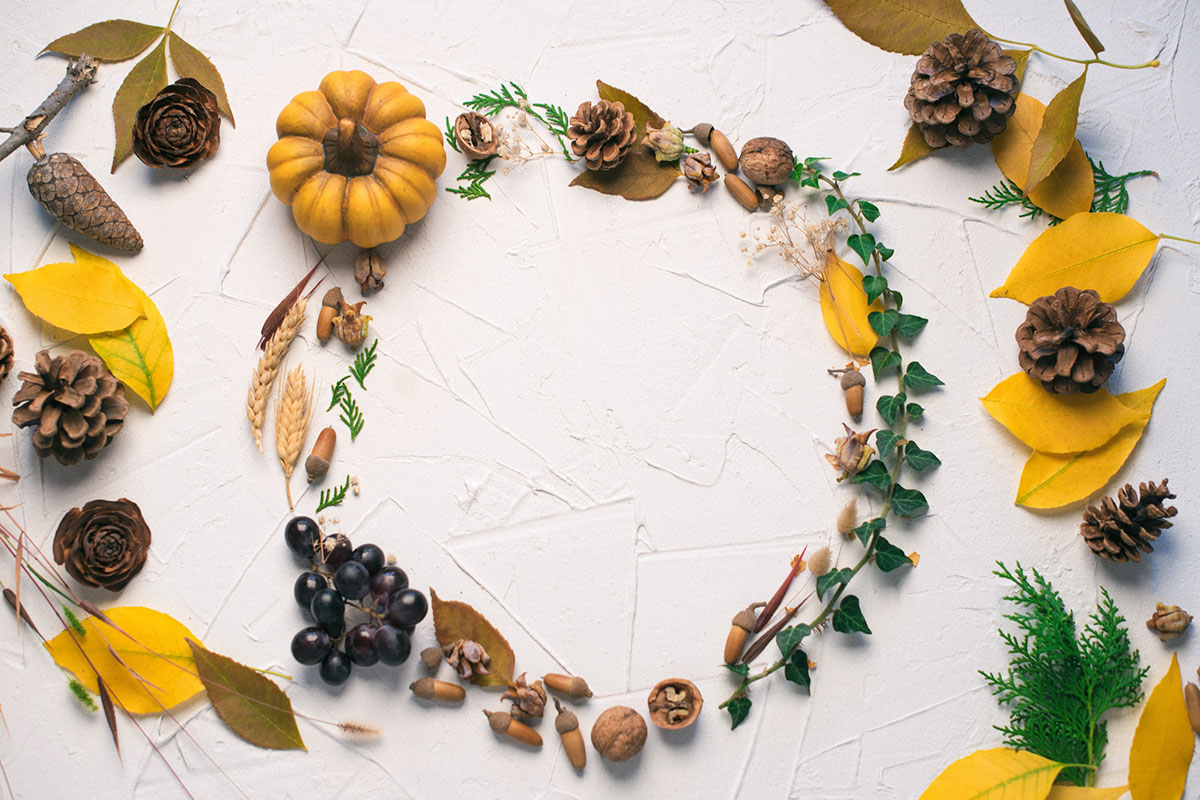
To create a nature garland, begin by collecting leaves, acorns, and other fall adornments. Measure the area where you want to hang the garland. Cut twine or rope to the desired length with some added inches for hanging and tying a knot on each end. Coat the leaves with Mod Podge using the paintbrush. Let the leaves dry.
Hot glue the largest leaves onto the rope, then layer on the smaller leaves. Consider adding acorns to the leaves or between them. After the glue dries, hang your garland.
Items needed:
- Leaves
- Acorns and other fall adornments
- Bag to collect items
- Tape measure
- Scissors
- Rope or twine
- Hot glue gun
- Mod Podge
- Sponge paintbrush
- Tape
Pumpkin Fairy House
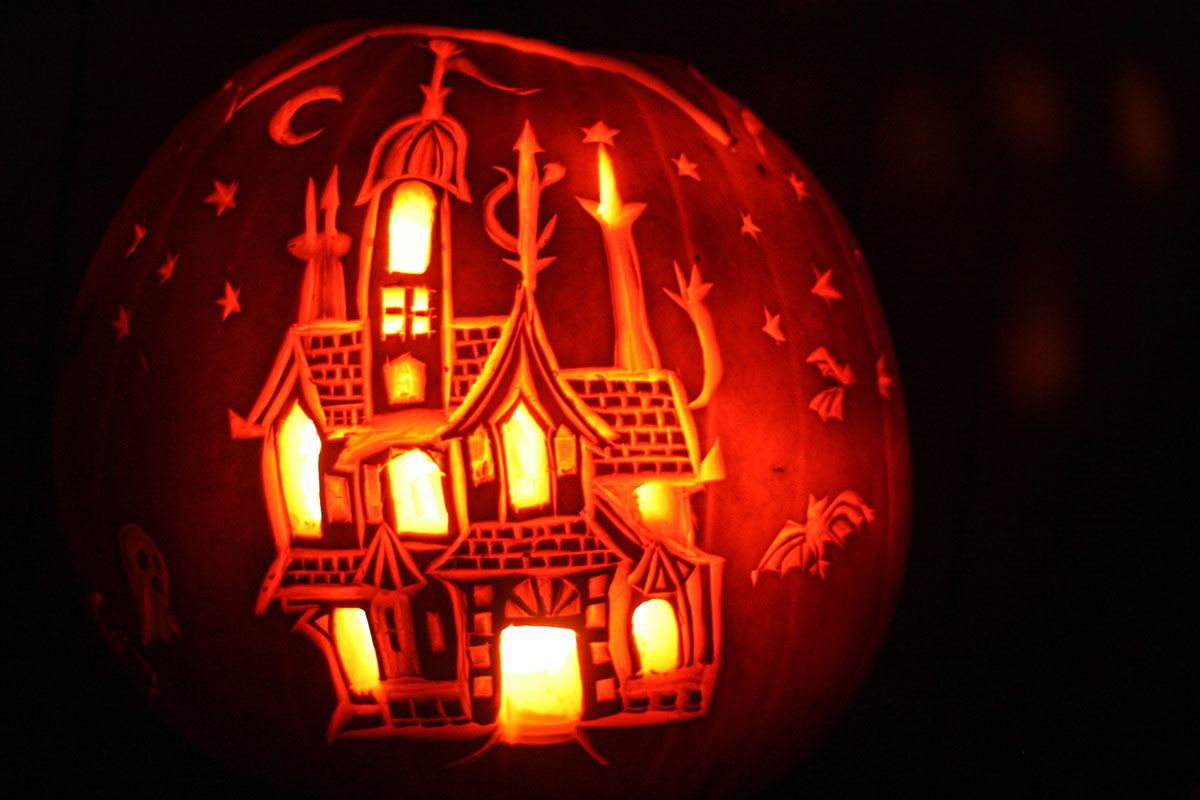
Fall is the perfect time to create a fairy house out of a pumpkin. Use it as a Halloween decoration or keep it up for the entire season. Begin by collecting materials, including sticks and leaves. Once you have your items, place a tablecloth or newspaper on the floor or table. Carve an oval shape out the side of the pumpkin to create a 3D opening, and, if you’re really skilled, consider carving out a door and windows. Scoop the seeds and flesh out of a hole in the top of the pumpkin. Discard the goop, but you might want to save the seeds to roast or plant.
Next, it’s time to decorate the pumpkin house. Use sticks and twine to make ladders or bridges. Adorn the house with figurines, dried leaves, and flowers. Paint acorns to look like mushrooms, if you’d like. Use your imagination and the items you’ve gathered to build a house a fairy would live in or a spooky haunted house for Halloween. Place an LED tealight inside the pumpkin house to illuminate it after dark.
Items needed:
- Ripe pumpkin
- Carving tools (carving kit, knife, etc.)
- Scooper
- Newspaper or table cloth
- Acorns, pinecones, leaves, sticks, etc.
- Twine or string
- Decorations and adornments (figurines, fake spiders and spider webs, etc.)
- Paint
- LED tealight
