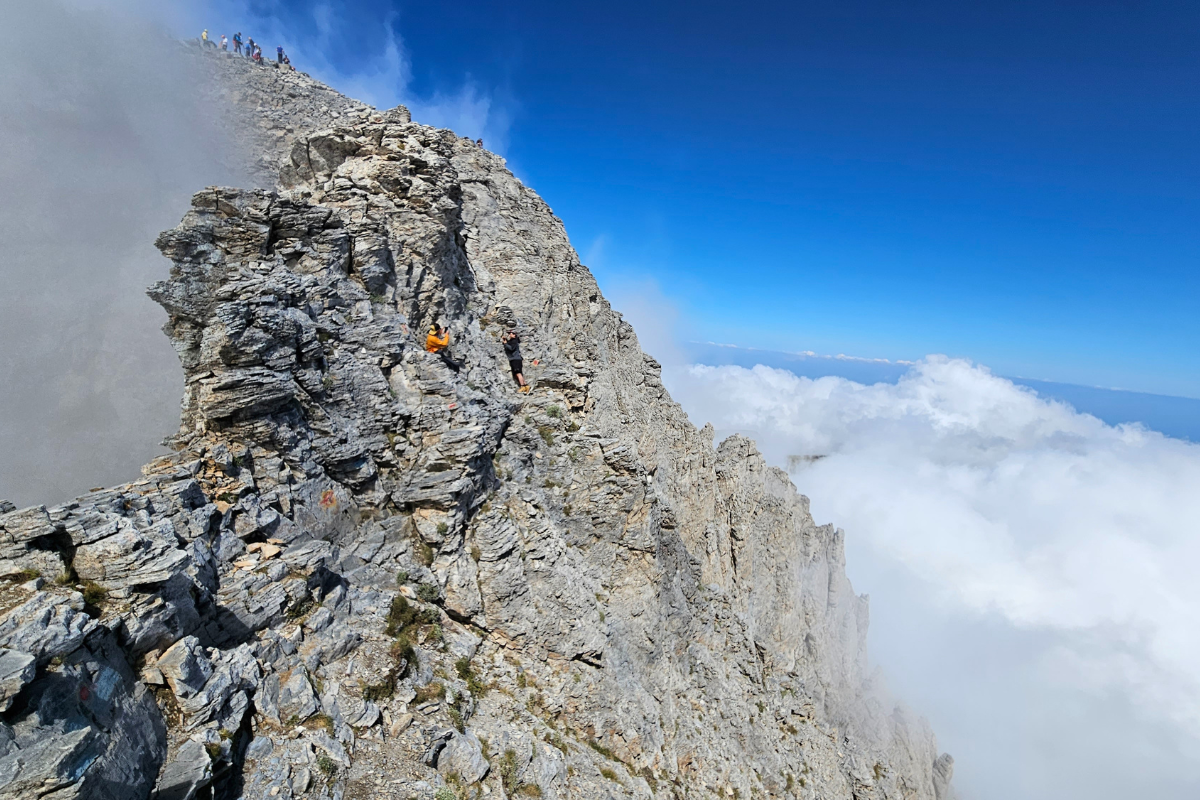

When hikers are looking to increase the intensity of their adventures, scrambling is a good route to go. Scrambling is moving over rocks and may require hikers to use their hands to continue on a trail. A lot of mountain summits can include scrambles. However, knowing when a scramble turns into a rock climb is essential. Climbing requires more gear and training. Understanding the difference between hiking, scrambling and rock climbing could save a life.
Videos by Outdoors
Recently, Instagram user and adventurer Reuben Driedger shared an online clip discussing hikes, scrambles, and rock climbing, and the video took off. With more people outside, plenty are looking for ways to get off popular and easily accessible trails for bigger adventures. Finding a hike with scrambling is a way to do that.
Here’s a look at Driedger’s clip, which does a great job visually showing the levels of terrain and what may be required.
In the clip, you can see what goes from a hike to increasingly vertical rock and, in some cases, higher consequences for mistakes.
Understanding the Risks
Visitors to national parks can see adventures like this firsthand, and with them comes plenty of warning. For instance, Rocky Mountain National Park contains the famous 14er Longs Peak. As multiple signs warn, getting to the summit isn’t a hike and does contain sections of scrambling, which can occasionally feel like light rock climbing. Access to this mountain is easy and often attempted by many people, and unfortunately, it doesn’t always end well. Longs Peak is consistently named one of the most dangerous 14ers in Colorado.
Many will attempt the climb with rock climbing helmets with occasional falling rocks, basic gear that not every tourist to the country’s fourth most popular national park will pack. When in doubt, it’s always best to speak with a park ranger to understand the risks and where your skill levels stand.
Hiking vs. Scrambling
So, when does a hike become a scramble?
According to the National Park Service, hiking includes 1st and 2nd class terrain. First class is defined as a trail that is flat, and hikers can easily keep their balance. On second-class terrain, a trail becomes harder to navigate, and often includes exposure and loose footing.
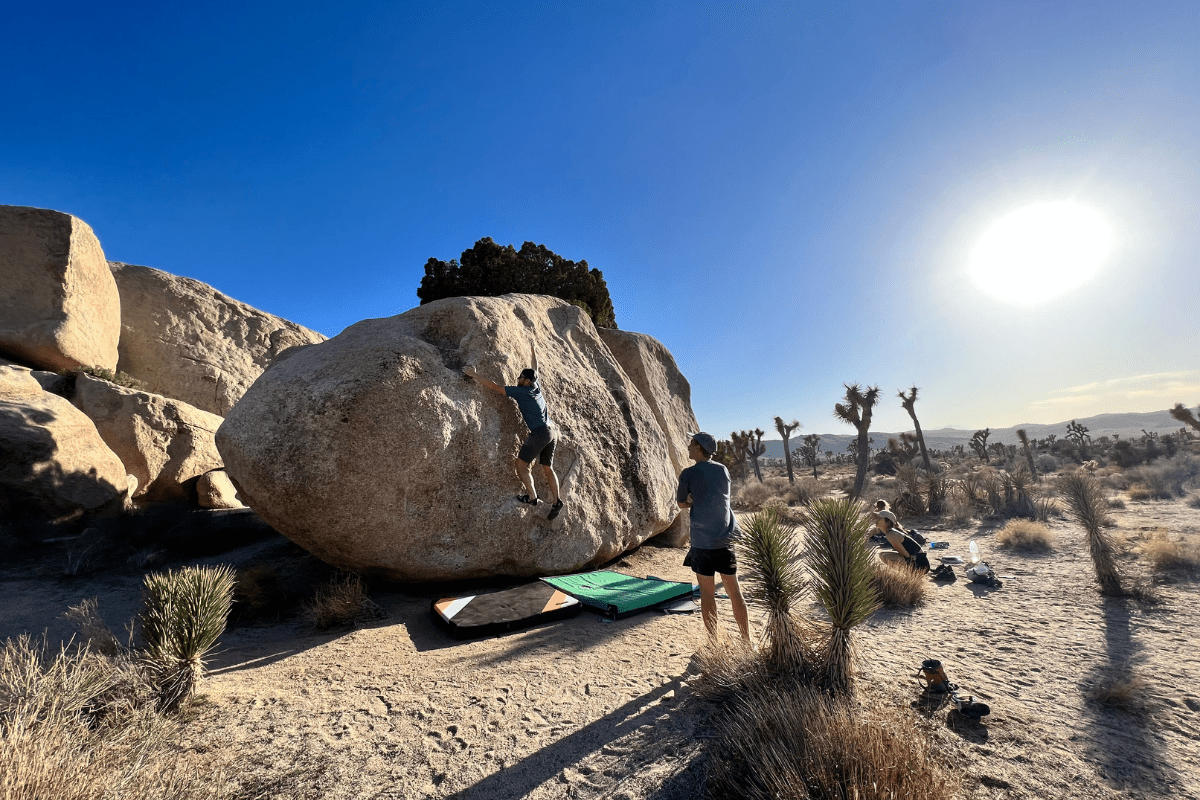
Once a hiker bumps up to 3rd class terrain, it becomes a scramble and at least one hand is needed, in addition to a hiker’s feet, to navigate. An excellent example of this is Joshua Tree National Park, where plenty of boulders and rocks are fun to climb and usually easy enough for a child.
However, once you move to 4th-class terrain, things can get truly dangerous. Sometimes gear is used, like helmets. Rubber shoes like climbing approach shoes or anything with a good grip are also required. Some people use ropes, but it is rare. Having some climbing experience is a plus in these situations.
When a Hike Becomes a Rock Climb

Eventually, the terrain becomes class 5. This level is climbing territory. Extra gear is required to ascend safely and get back down, whether using ropes or bouldering. People who venture into this territory should have extensive training and knowledge to safely traverse the area.
Paying close attention to where you are can make a huge difference. A hike can quickly go from a scramble to a rock climb, and knowing that before you go too far could save your life. It’s a lot easier to turn around before you’re up high on a rock that you need to climb safely somehow back down.
Scrambling Safety
Here are some additional safety tips from the National Park Service to keep you safe while scrambling:
- Know your limits. Know your physical abilities and experience level. Start with easier routes and gradually progress to more challenging ones as you gain confidence and skills. Only attempt a scramble that is within your capabilities.
- Stay on designated routes. Stick to established trails and marked routes. Venturing off the path can lead to environmental damage and put you at risk of getting lost or encountering dangerous situations.
- Assess the rock stability. Before scrambling onto a rock or boulder, carefully evaluate its stability. Avoid loose or wobbly rocks, as they can cause falls or rockslides. Test the stability by applying gentle pressure or tapping the rock lightly.
- Use three points of contact. Always maintain three points of contact (hands and feet) with the rocks. This technique provides stability and balance, minimizing the risk of slips and falls.
- Watch your footing. Pay close attention to where you step. Have secure footing before moving. Avoid loose gravel, sand, or moss-covered rocks, as they can be slippery. Take your time and choose your path wisely.
- Stay hydrated and protect yourself from the sun. Carry an ample supply of water and drink regularly to avoid dehydration. Apply sunscreen, wear a hat, and use lightweight, breathable clothing to protect yourself from the sun’s harmful rays.
- Be aware of your surroundings. Look for potential hazards such as loose rocks, overhangs, and unstable ledges. Be mindful of wildlife and give them a wide berth. Also, stay aware of changing weather conditions, as storms can quickly roll in, causing dangerous situations.
- Scramble with a buddy. Bring a buddy with you to help navigate over this rocky terrain. Stay as a team and always stay with your buddy to scramble over terrain that is too difficult for them.
- As always, tell someone where you are going and when you will be back. Friends and family who know their buddy’s itinerary have saved lives.


