
A few years ago I was camping with some friends, and as soon as we got there, one of the guys started carving a spoon. I soon learned that he does this every time he goes camping, and I thought it was a pretty cool way to spend time at the campsite. I’ve always wondered how to carve a spoon and what I would need to do it. I got lucky that day because he gave me a spoon carving kit so I could get started. I’ve carved four or five since then, and while I’m no expert, I can show you what you need to get started.
Videos by Outdoors
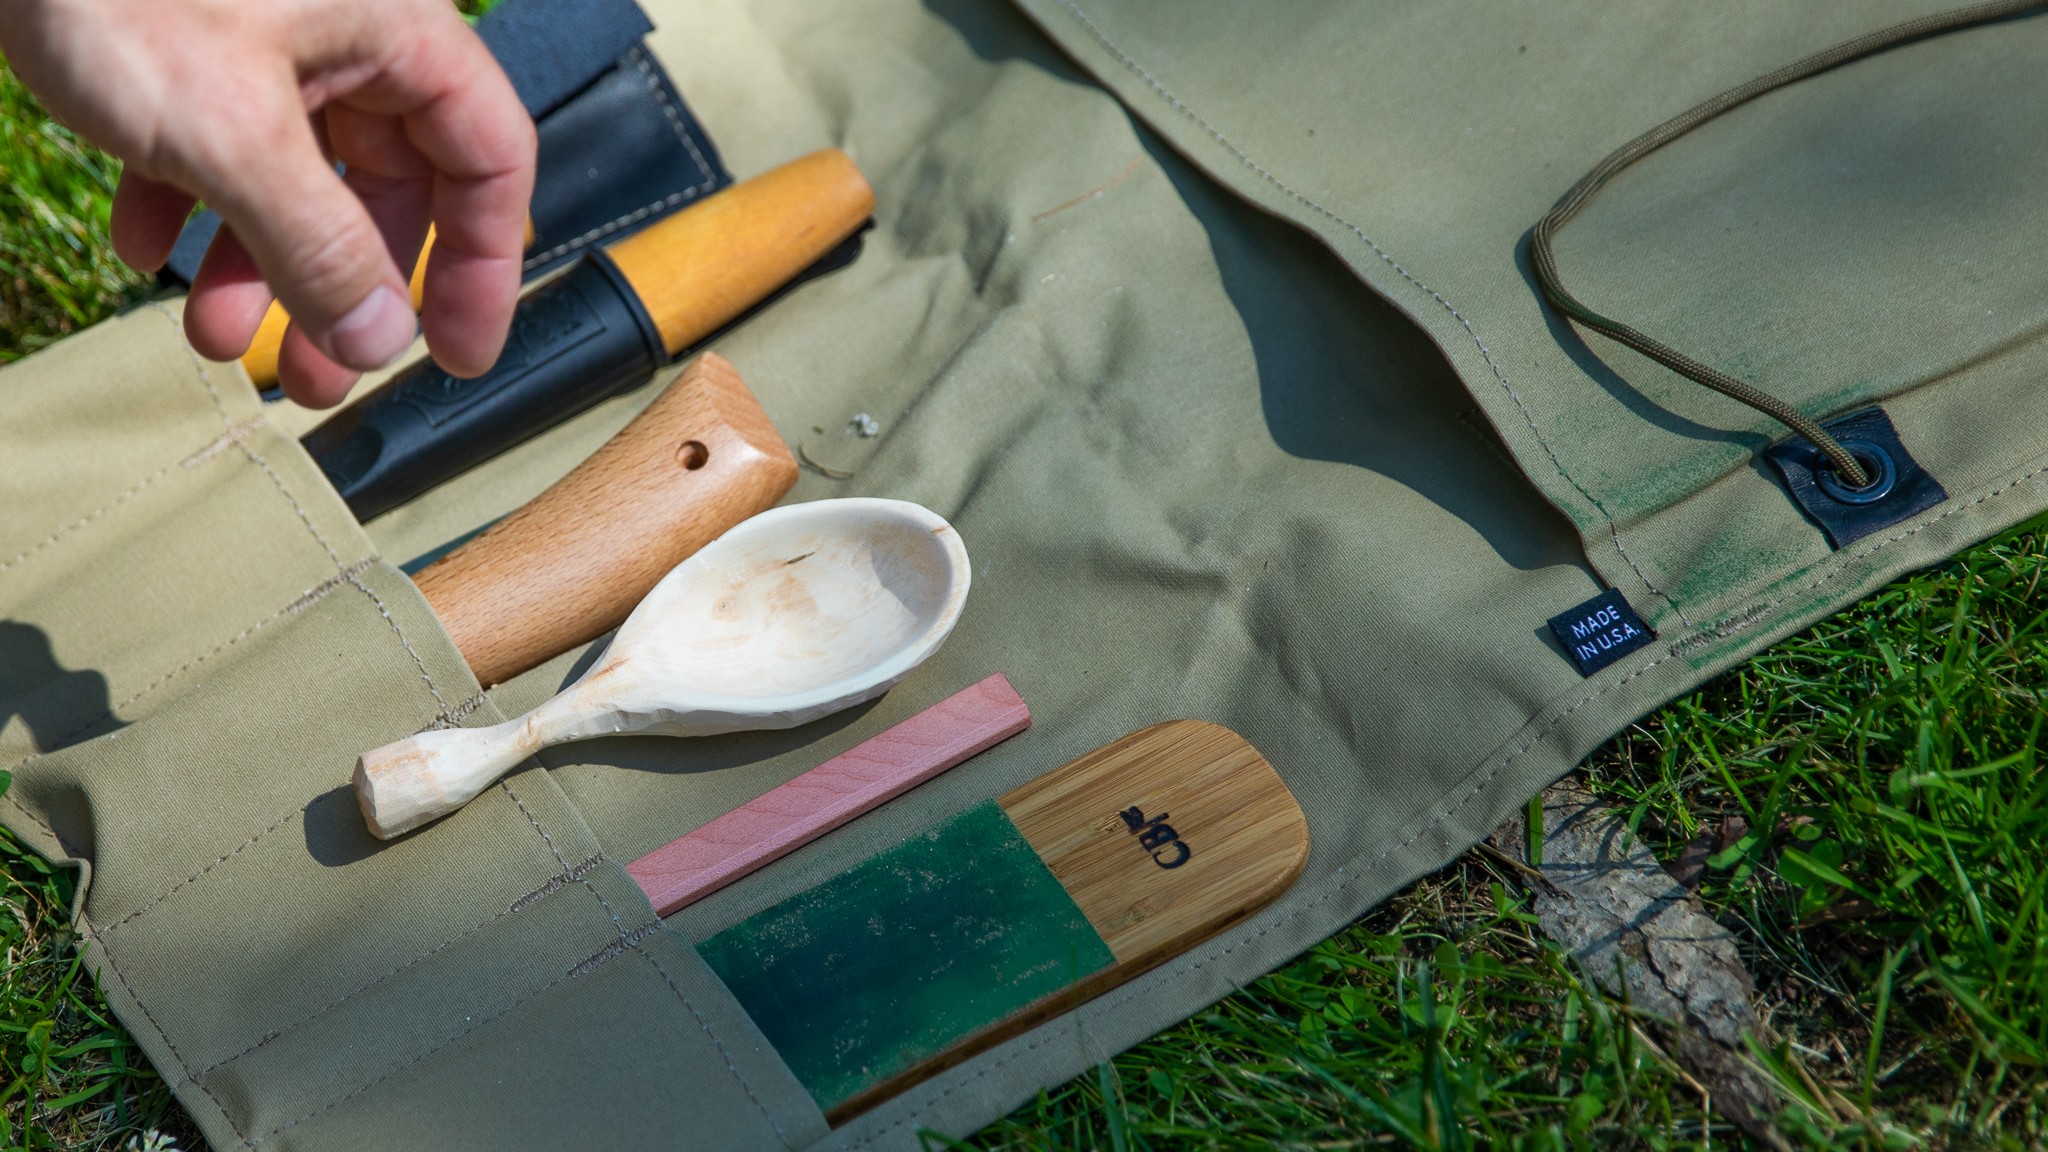
At the bare minimum, you’ll need a hook knife and a straight knife. You’ll need the hook knife to carve the concave part of the spoon, and it’s surprising how easy this is with a sharp knife. You can pick one up for about $20 on Amazon. The other knife you’ll need is a straight knife for carving the outside of the spoon. These are also relatively inexpensive. I have one from Morakniv that I like a lot. You can start carving with these two knives, but it also helps to have a strop and a small hatchet for roughing in projects. You should strop your blades every 20 minutes or so to keep them razor sharp. It not only makes carving a spoon faster but more enjoyable as well. A small hatchet will remove large amounts of wood quickly.
Learning how to carve a spoon the fastest and easiest way will require green wood or something very soft, like basswood. If you’re harvesting green wood, make sure you’re familiar with the regulations in your area. Some national forests require a permit to cut live trees down. The easiest way to do this would be to ask a friend who has land that wouldn’t mind you cutting down a small tree. Birch and Aspen are popular choices for spoons. If you want to go with basswood you can pick it up at any hobby shop.
Start with a smaller piece of wood 3″-4″ in diameter. You’ll finish it sooner, and it will be a more manageable project. Split the wood in half either by batoning it (as I do in the video) or with a small ax. After that, you can use the ax to remove wood around the handle quickly.
You don’t have to trace out the spoon. For more complex projects that can be helpful, but I don’t think it’s necessary in this case. I keep a picture of a spoon in my mind, and it seems to go just fine. Start carving the bowl of the spoon out with your hook spoon, and when you get to the desired depth, switch to the straight knife and start working on the outside of the spoon. Learning how to carve a spoon isn’t difficult, but it does take practice. You’ll be surprised at how much you learn about the process from just one spoon.
Finish the spoon by sanding the inside. Start with 220 grit and then finish it off with 600 grit until it’s nice and smooth. I’ve been leaving the outside of my spoons unsanded because I like the look, and also because I’d rather move onto the next spoon, vs. spending another hour sanding it. I’m sure I’ll graduate to a fully sanded spoon at some point, but I’m currently focused on experimenting with different styles of spoons. When you feel that your spoon is finished wipe it down with linseed oil to protect it. The linseed oil will harden slightly, and prepare the spoon for years of use.
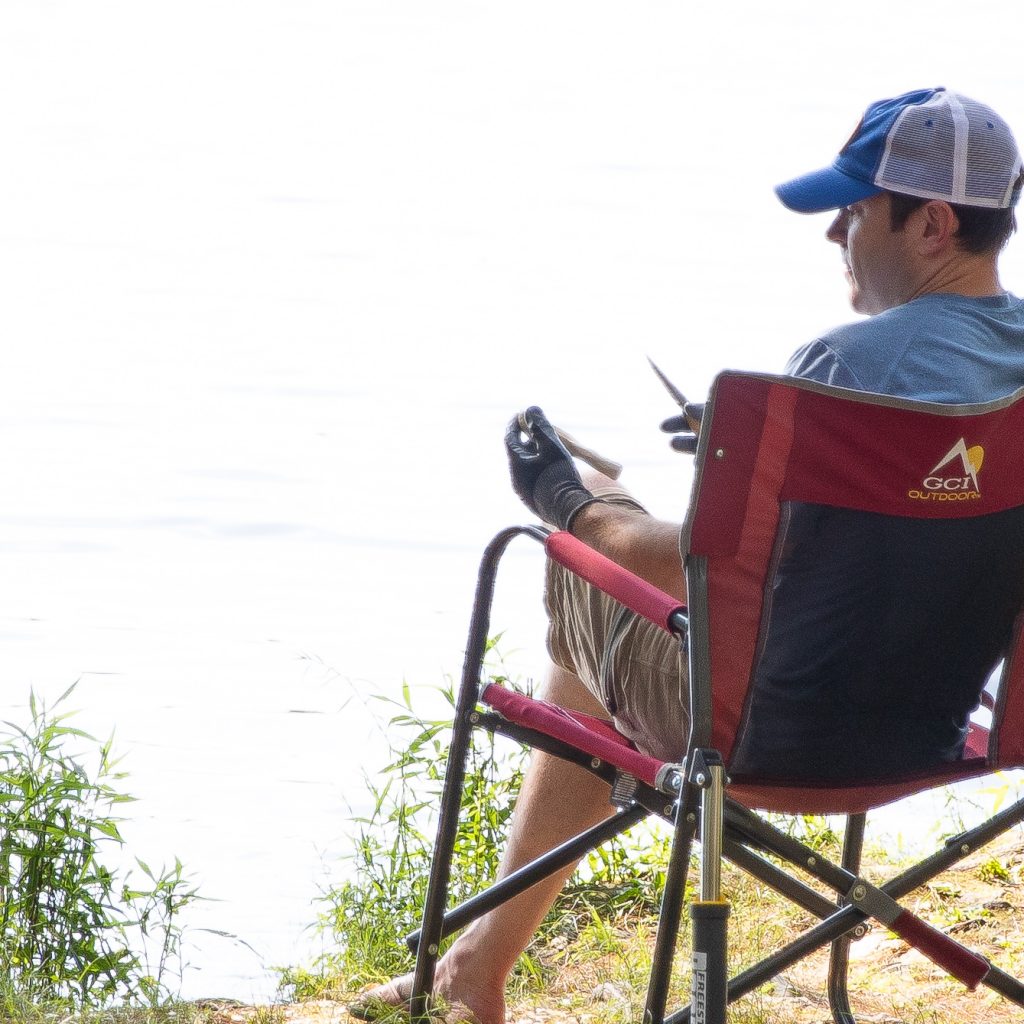
Learning how to carve a spoon at the campsite has added a new, relaxing component to my weekends. It’s something I can work on while still chatting with others, but at the same time, there is a meditative quality to it. I hope you give it a try because I think that you’ll also find it to be a very rewarding pastime.