
Videos by Outdoors
“I got one! I got one!”
It’s the shout every companion of a new angler hopes to hear. It doesn’t matter how young or old, it’s an exclamation of pure excitement.
Most of the fish you’ll target on early fishing adventures will be species known for biting pretty voraciously. We don’t want to fuss with finesse or delicate presentations. We want early experiences to be with fish that grab the bait and yank that bobber under the surface.
There’s no question as to whether it’s a bite, and in most cases the resistance of the float actually hooks the fish.
“Playing” a Fish
With the fish well hooked, there’s not a lot of finesse required to reeling the fish in either. However, in case there’s any question, it’s better to ease the fish toward shore rather than horse them in. Some species, like crappies, have thin lips that won’t hold the hook if reeling them in gets too herky jerky.
As much fun and adrenalin are associated with “I got one! I got one!” there is equal disappointment in the admission, “I lost him!”
“Netting” a Fish
Even worse disappointment comes when you bring the fish right up to shore or the boat and it comes off the hook just as you’re reaching for it. Heartbreaking isn’t too strong a word!
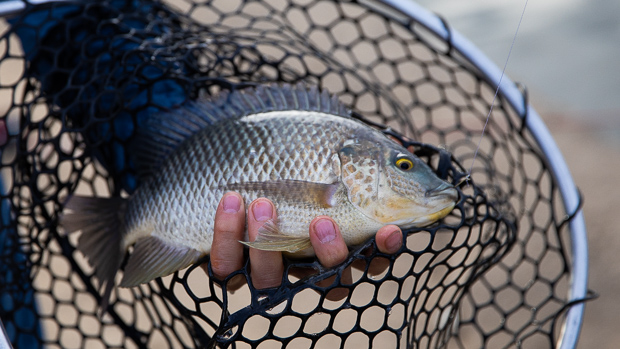
The way to land nearly every fish you bring in is with a landing net. It will save many moment-of-truth disappointments especially for beginning anglers.
You’ll get the best results with one simple tip – net the fish headfirst. If the fish makes a final surge, it has to swim forward. Netted from the front, it swims into the net. Netted from behind, it swims away from the net, and your scoop won’t be fast enough to catch up to him. This is especially true should you luck into a really big fish.
Removing the Hook
Whether you plan on keeping the fish to eat or just want to take a few pictures and release it, you’ll need to know how to get the hook out. Sometimes a fish is barely hooked, so you can just carefully grasp the shank of the hook, give it a little shake, and the fish will come right off. Other times, the fish will be hooked deeper and require a tool of some kind to grasp the hook and remove it. One tip for using all kinds of tools is that you’ll need to push the hook a little bit farther into the fish to get the barb to release before you can remove it.
TakeMeFishing.org offers a step-by-step guide to releasing fish including a helpful video. Check it out.
Tools For Taking Fish Off The Hook
There are a number of common tools you can use to help remove hooks from the fish you catch. They are disgorgers, forceps, needle nose pliers, and special hook removers. Additionally, you may find a mouth spreader and a fish-handling glove to be helpful.
Disgorger – It’s the fancy name for a stick with a small fork on one end. The modern versions are plastic and have bulbous ends in two different sizes for fish with different size mouths and a slot for the line in each end. You simply insert the line in the slot, and slide the disgorger into the fish’s mouth. You will feel it engage the hook. When you do, push it just a bit farther to get the hook to come out. Pull it back out of the fish’s mouth being careful to keep the line taut. This keeps the hook tight against the bulb instead of getting caught in the fish again.
Forceps – This is a medical device adapted for fishing (or maybe it’s a fishing device adapted for medical use). With the jaws of the forceps open, you slide it along the line into the fish’s mouth until you feel the hook. Close the jaws and lock them in place. Then it’s just a matter of pushing rearward to disengage the hook, and carefully removing it. Forceps are available in a wide range of sizes for all kinds of fish.
50 Campfires offers a great video of 7 Tips to Keep Your Cooler Crazy Cold.
Needle Nose Pliers – These work much the same way as hemostats, without the advantage of the locking jaws. Needle nose pliers generally work best on larger fish like bass and walleyes, etc.
Hook Removers – There are also hook removers with gripping jaws at the end of a longer shaft. You simply insert the tool in the fish’s mouth to engage the hook. When you feel it, you squeeze the handle, which closes the jaws allowing you to remove the hook. These are used for the largest, toothiest fish like northern pike and muskies.
Mouth Spreader – If you think the chances of encountering toothy species like pike and walleyes is likely, a mouth spreader makes hook removal safe. Just insert the spreader into the fish’s mouth and let the spring tension prevent the fish from closing it until you’ve safely removed the hook.
Fish Handling Glove – These are special gloves that help you get a good grip on the fish while doing less damage to the skin and scales. They’ll also prevent getting pricked by the natural protective flexing of the fish’s dorsal and pectoral fins.
Check out the step-by-step information on TakeMeFishing.org that teaches how to clean fish, how to fillet a fish and how to turn your catch into delicious meals.
Also check out the 50 Campfires camp cooking recipe booklet for the best fish and side dishes you’ve ever tasted!
Handling Fish
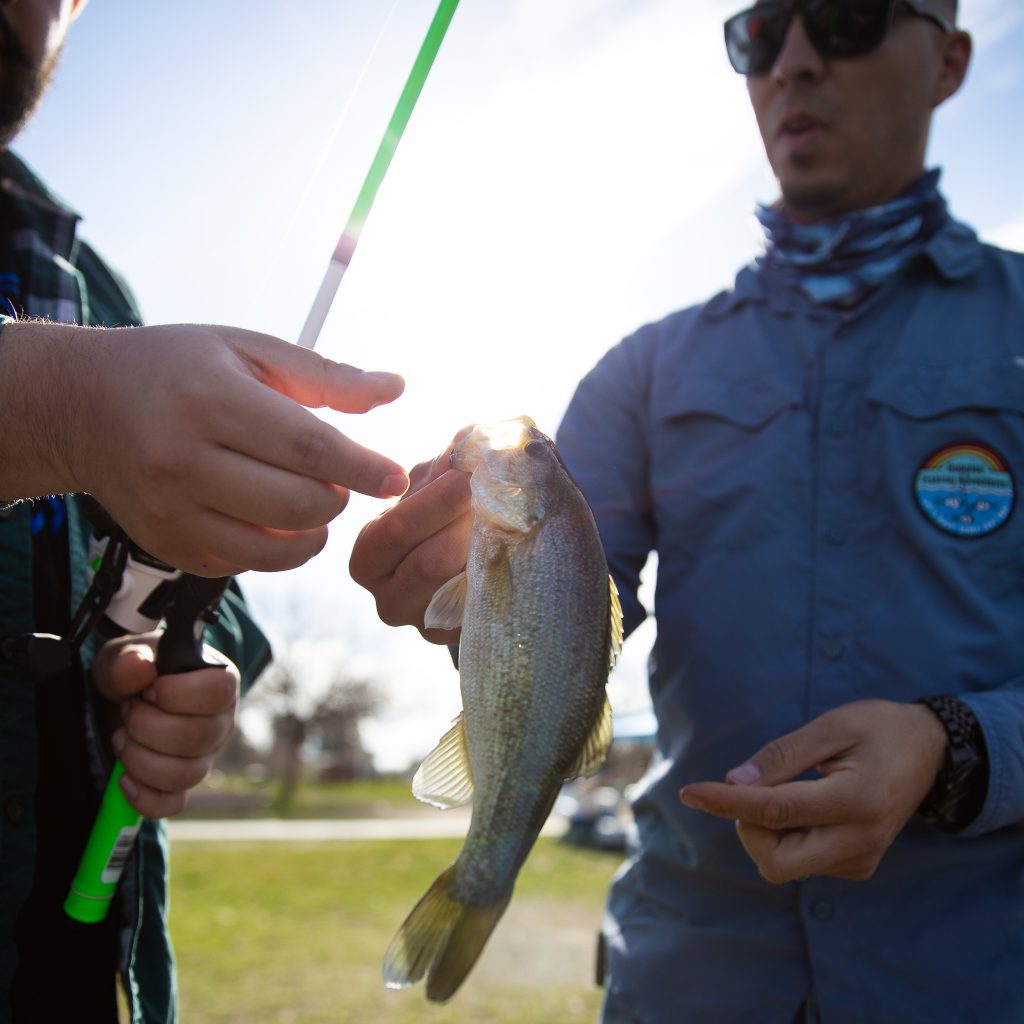
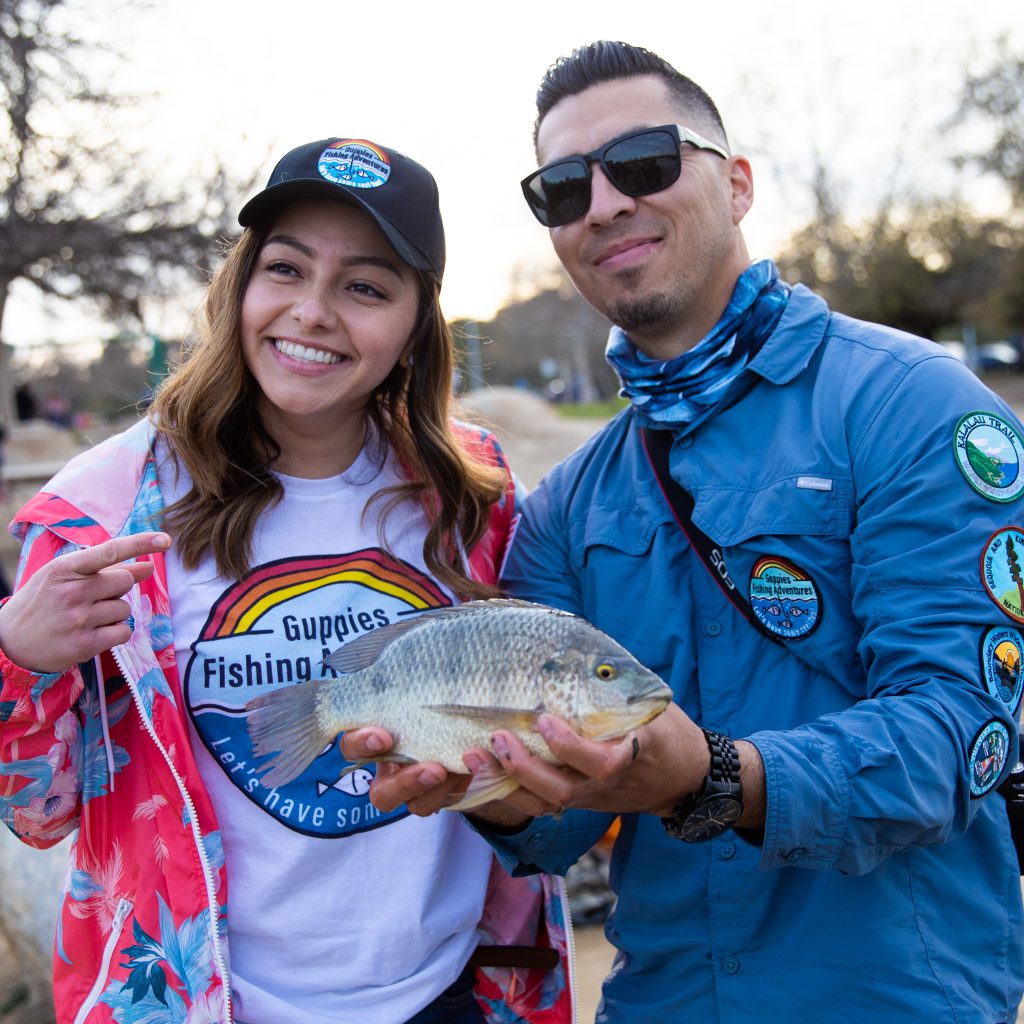
Whether it’s simply for removing a hook and putting the fish back in the water, or holding a fish up to capture the memories in great photos, sooner or later you’ll have to handle the fish.
To keep fish in the best condition to release unharmed, you should handle them as little as possible. You may be able to remove the hook while they are still in the net, then just flip the net over to watch them swim away. However, if you need to use a tool to remove the hook, you’ll need to lift the fish out of the water. In that case, be sure to thoroughly wet your hands before grabbing the fish. Get any pictures you want to take, and then get the fish back into the water as quickly as possible.
Don’t release fish by tossing them back into the water. Instead just lower them into the water gently and let them swim out of your hands.
Fish you plan to keep for eating should also be kept as fresh as possible. The best way to do this is to put them directly into a cooler with lots of ice as soon as the pictures are taken. You can also use a mesh fish basket, but traditional stringers are not optimal. The fish don’t stay alive very long on a stringer, and they are near the surface of the water where it’s usually warm. Get them on ice and cooled as soon as possible after you catch them.
In either case, you’ll be handling the fish to get it off the hook and possibly to hold it up for pictures. Exercise some caution. The top fin – called the dorsal fin – on nearly all fish have spines. Slide your fingers carefully along the fish’s back from the front to the back to brush this fin down and hold it under your fingers or against your palm.
Even if these spines poke you, it’s not a big deal except for catfish and bullheads. These species not only have sharp spines in their back fins, they also have spines in the fins on both sides at the front of their bellies – called the pectoral fins.
The technique for handling these fish is to hold one pectoral fin between your thumb and index finger, and slide your thumb behind the opposite pectoral to hold it erect. If you hold the fish upside down in your hand, this is all you need to do. If you hold it right side up, you need to make sure the palm of your hand is clear of that top fin. Especially in bullheads, these spines carry a mild toxin that will make the stings really hurt for a while.
The other thing to be aware of on some species is their teeth. Pike, muskies, and walleye all have sharp, needle-like teeth. If you think you’ll be dealing with these fish, it’s worth getting a fish-handling glove. Use it to grasp the fish carefully behind the gills with your weak hand. With pliers or some other device in your dominant hand, you can then carefully remove the hook.
Knowing how to handle fish properly and safely, whether you want to release them or make a memorable meal of them, just adds to the fun and memories you’ll build.
Quick Links To The Ultimate Fishing Guide presented by Zebco
How To Guarantee Success Every Time You Go Fishing
How To Prepare : The Ultimate Fishing Gear List
How To Handle a Fish After You Catch It
Best Tips For Taking Fishing Pictures
Buying Your License and Understanding Regulations

