
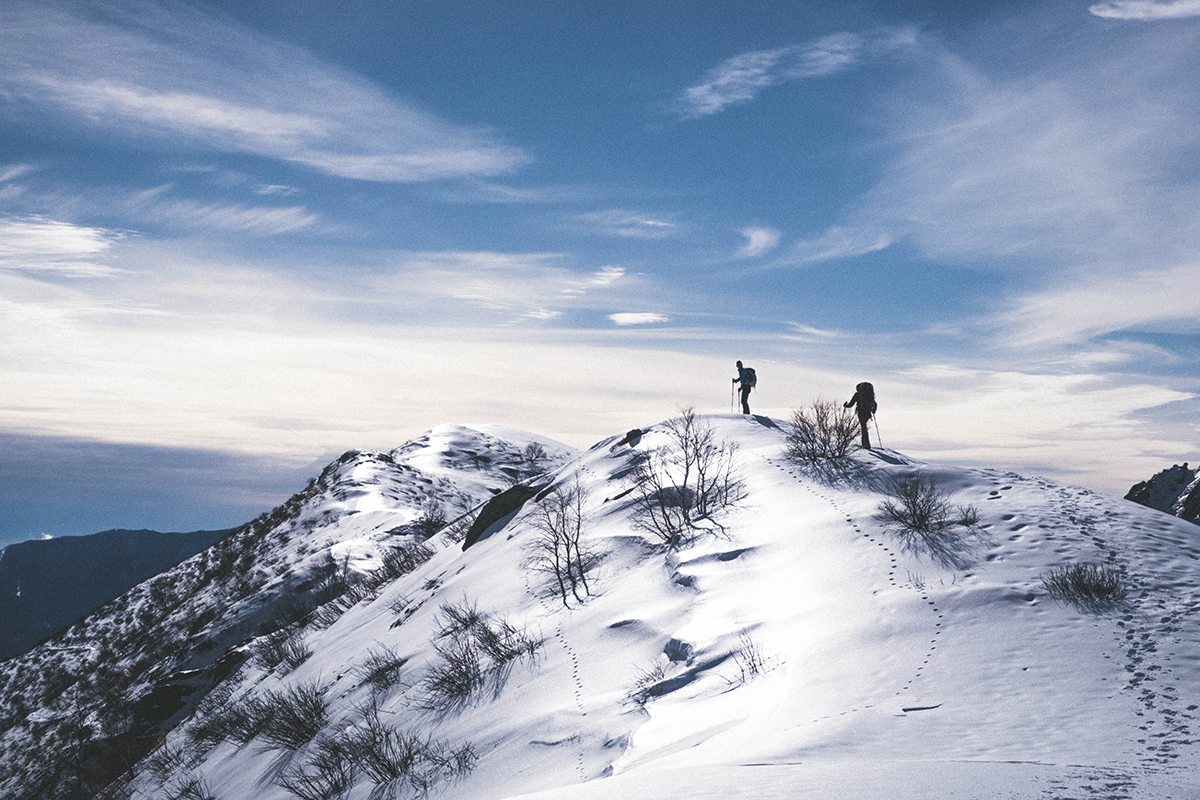
To an inexperienced hiker, trekking poles might seem unnecessary. After all, why waste the money when you could just watch where you step or pick up a walking stick along the trail? But they’re not. They’re an invaluable piece of gear, especially on long trails or hikes through rugged terrain.
Videos by Outdoors
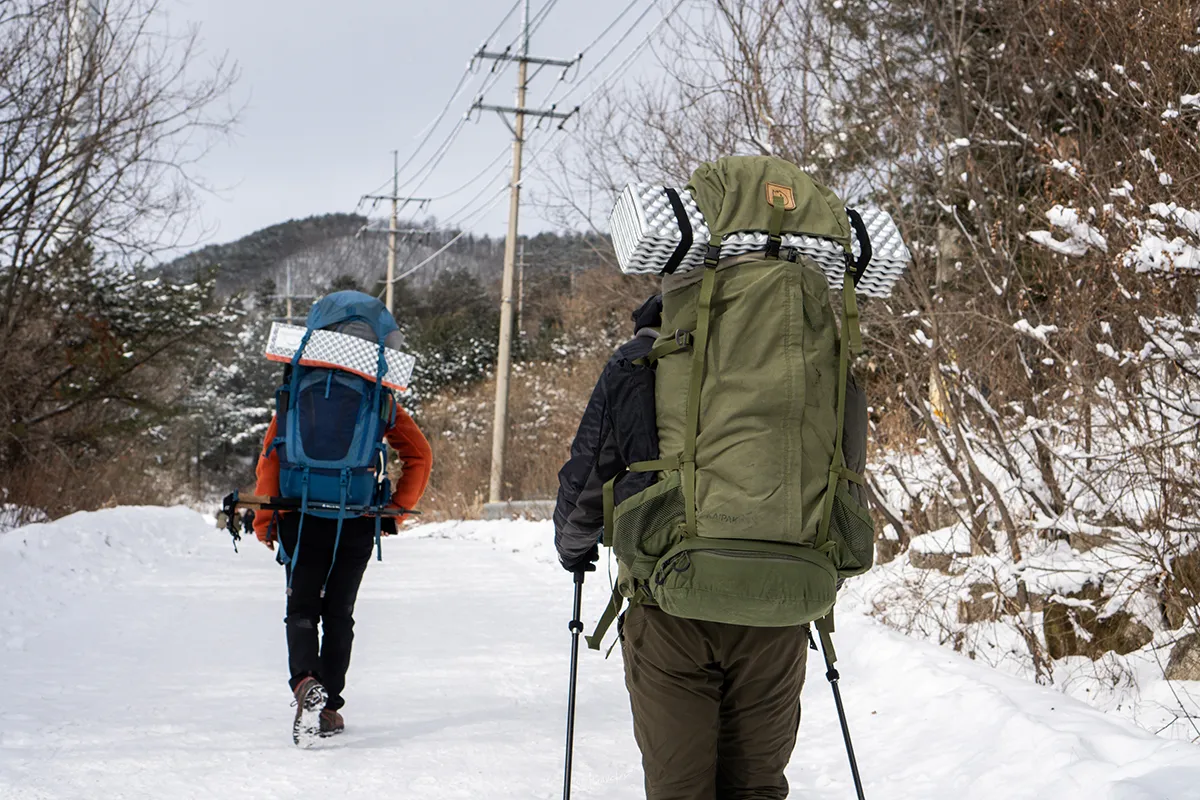
In the simplest terms, trekking poles help with stability. While they help you keep your balance and footing on uneven ground, they also provide relief to the parts you use to stabilize your body like your feet, legs, and back. They also help absorb shock as you have better control of your movement and you can generate forward momentum. In short, they help you travel further, longer, and safer.
In this guide, we’ll tell you how to use trekking poles correctly and we’ll also break down what a trekking pole is, so you get the most out of your outdoor experience.
Types of Trekking Poles
Before we get into how to use a trekking pole, we first need to describe the types of trekking poles.
A trekking pole or hiking stick —- whatever you want to call it — are the same thing. People generally use those terms interchangeably. However, what we’re talking about specifically is the type of trekking pole you buy in a store rather than rip off of a tree or make in a woodshop.
There are a few different types of trekking poles, such as fixed length, adjustable, shock-absorbing, and ultralightweight. They’re also made from a variety of materials, ranging from metal to composite to carbon fiber, and they come with different features as well. The features to note include grips, wrist loops, pole shaft, locking mechanism, basket, and tip.
Trekking Pole Features
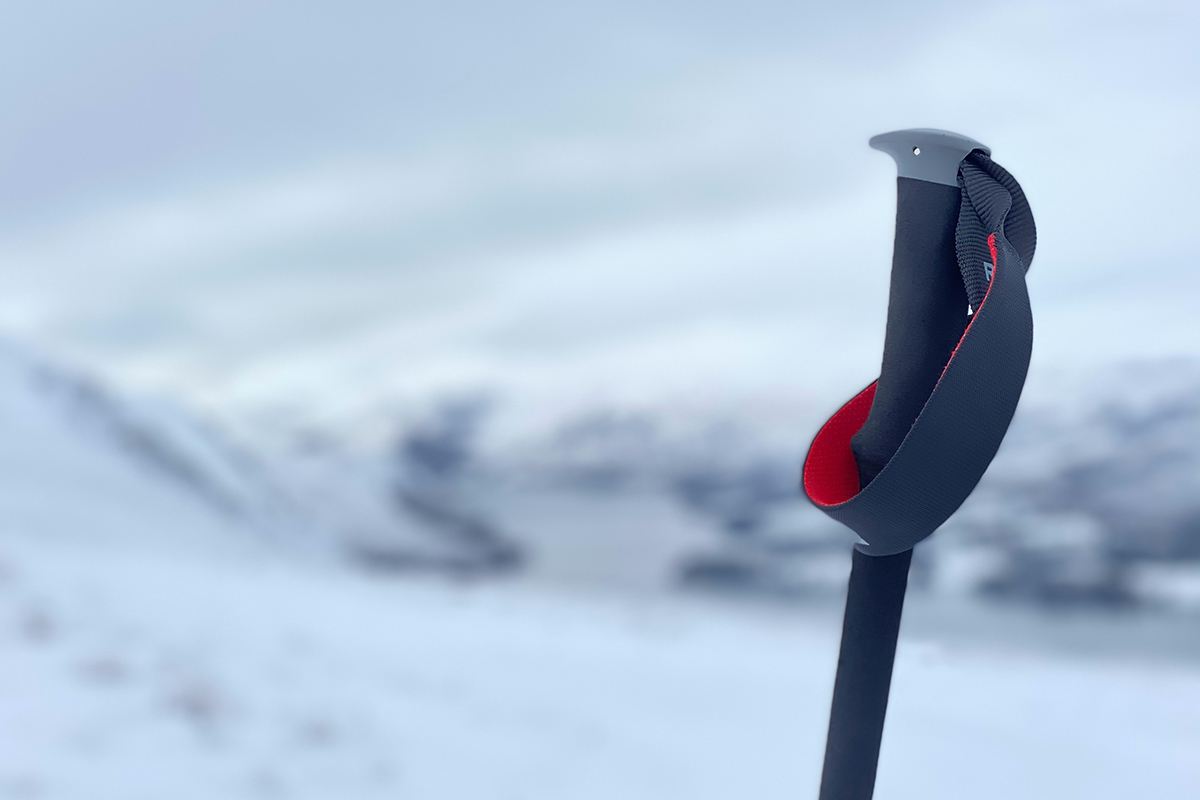
- Pole grips come in a variety of materials, including rubber, foam, cork, and plastic, and a variety of sizes as well.
- Wrist straps tend to be more of a preference, but you use them to secure the pole to your wrist.
- The pole shaft is the main component of your trekking pole. It’s made of durable materials and is also the part that is either fixed or adjustable.
- The locking mechanism is used to adjust the length of the shaft. They come in a variety of designs, including external, internal, twist, and button.
- The basket on a trekking pole is a small disc located near the tip of the pole. The basket helps stop you from pushing the pole deeper into the ground.
- The tip is the point where the pole meets the ground. It typically consists of two parts: the body and the point. The body is usually plastic while the tip is usually made from hardened steel.
How to use Trekking Poles
Using trekking poles seems like it should be intuitive as you merely use them as you swing your arms, but some people fail to use them correctly and therefore fail to see their benefit. That’s why we’ll break it down into step-by-step instructions.
Adjust the Pole Length
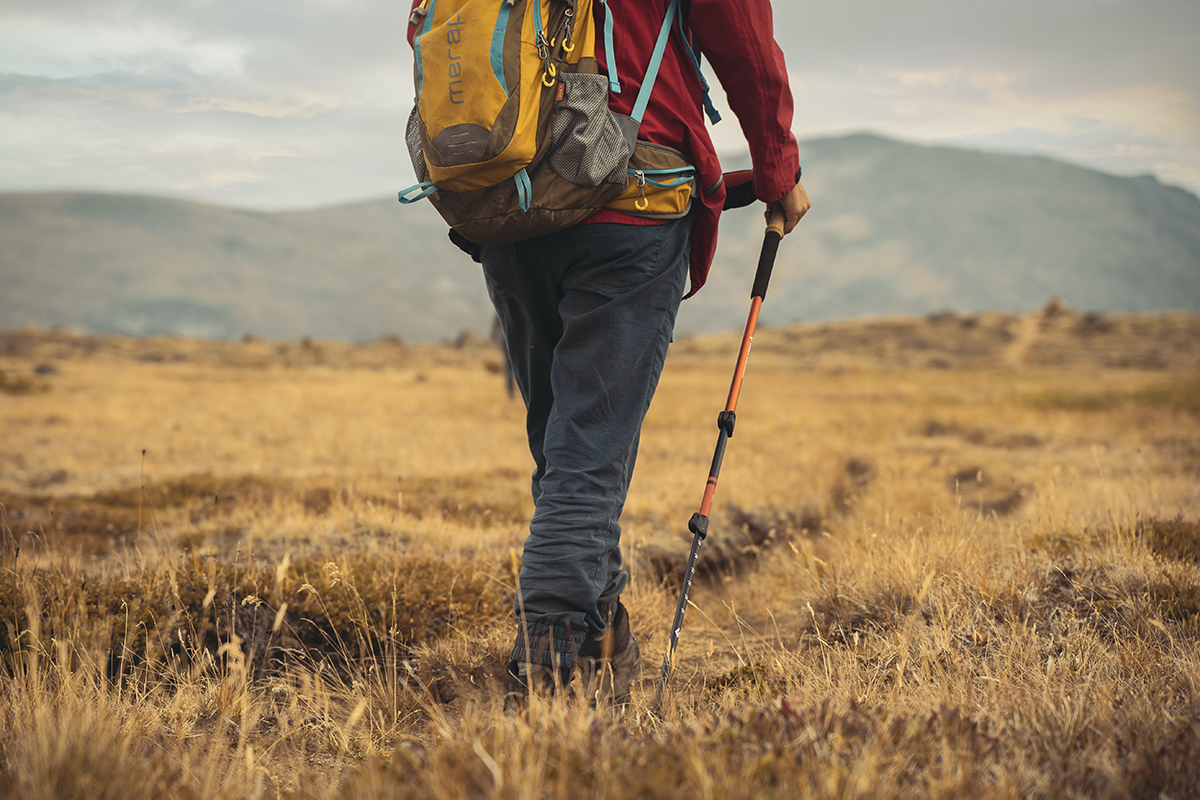
Before you start using your trekking poles, you should first figure out the best length for your height. While there are suggestions for exactly how long your trekking poles should be, a good rule of thumb is this: Grip your poles and then lock your elbow at a 90-degree angle so your forearm is parallel to the ground. If the tip of your pole touches the ground, it’s the right length. While you’re using them, you should adjust for comfort and usability.
Grip Your Pole
At first, you may have a tendency to grasp onto the pole too tightly, but give your hands a wiggle and remember that an overly tight grip on your pole can cause fatigue and other joint pain. If you find yourself unstable or about to slip, your grip will naturally tighten to protect you from falling.
Use Your Arms
When you take a step forward, gently swing the pole opposite of your front foot forward until your elbow reaches a comfortable 90-degree angle. For example, if you take a step with your left leg, swing your right arm forward. You want the motion to be initiated by a slight raise of your forearm or flick of your wrist. Remember to keep your grip loose and the swing should come naturally.
Sometimes, there may be a tendency to bring the same arm and leg forward when stepping, but this causes an unnatural swaying gait that is more unstable. If this is the case, relax your arms at your sides and let your poles drag naturally on the floor. Walk forward as you normally would and you’ll find that your natural pattern of walking follows the opposite arm and leg motion. Once you get into the rhythm, you can start to bring your arms up naturally so that the tip of the pole taps the ground lightly.
Make sure not to stake the metal tip of the pole too firmly into the ground, as you want your arms to be able to swing naturally back and forth. If you find that you need to put additional pressure onto the pole for the tip to graze the ground, you may need to adjust the length of your trekking pole.
Plant the Pole
Planting the tip of your pole gently into your ground will give you the stability you need. For a less demanding hike, a simple brush on the ground will help you keep your balance and give you a rhythmic upper-body swing that takes some pressure off your legs and feet.
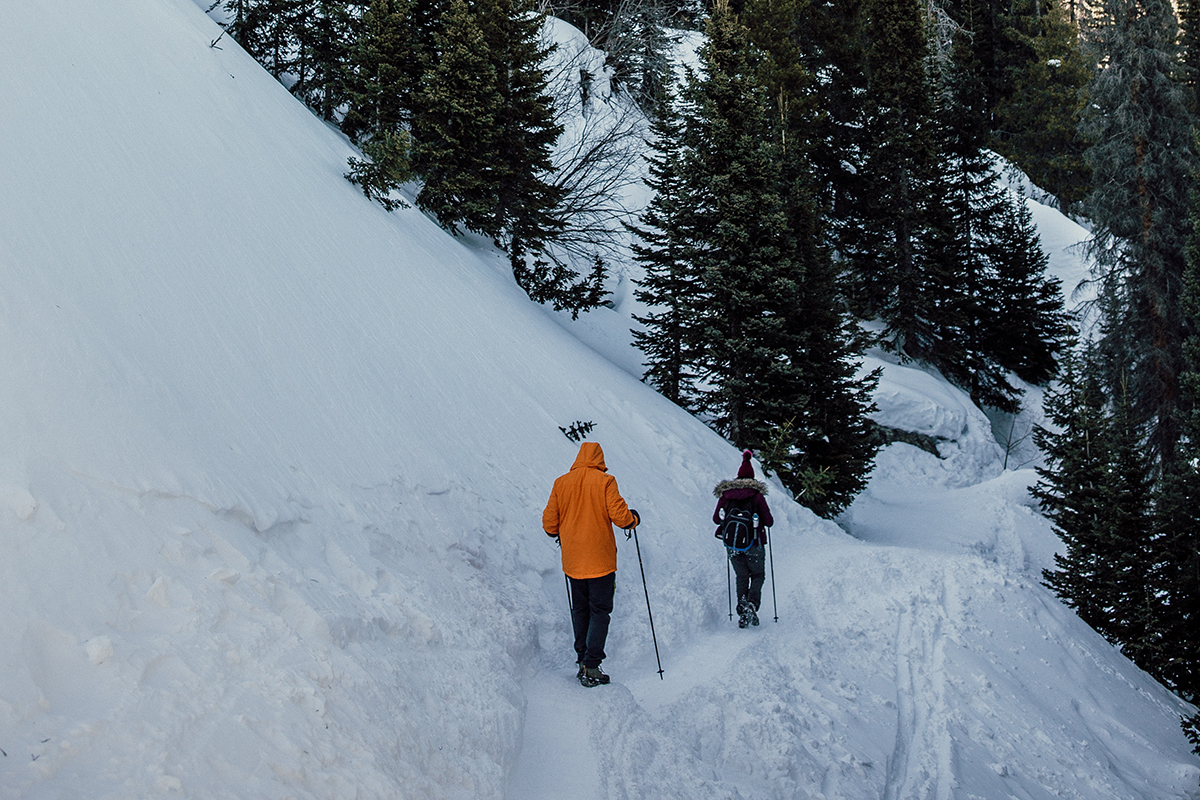
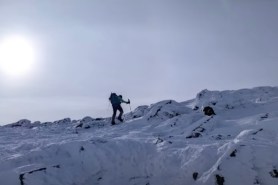
When walking uphill, apply gentle pressure downwards into the pole to aid your ascent. Similarly, when going downhill, apply subtle pressure to brake for support. Be sure not to lean completely onto your trekking pole or apply too much pressure, as if your pole slips or collapses, you’ll take quite the tumble. As you continue to explore different terrains and trails, you’ll get the hang of how to use trekking poles in a way that will become effortless and natural for you.
Different Applications
Now that you’ve mastered the technique of using trekking poles properly, you may want to experiment with different techniques that work better in certain situations and terrain. When trekking up or down a hill or when navigating stairs or curbs, a double pole technique may be more efficient and more natural to you.
Using Trekking Poles on a Hill
The double pole or swing and drop technique consists of swinging both poles ahead simultaneously to boost you a couple of steps forward until you can set them on stable ground again for the next push.
When trekking uphill, plant your poles close but slightly forward, by your sides, and apply gentle pressure for subtle support upwards. A common mistake that beginner backpackers make is planting their poles too far ahead of their bodies and applying pressure to pull themselves up. You want to use the trekking poles to give you a subtle push rather than to pull you up, as it is much less stable. It can also be helpful to shorten the length of your pole when hiking uphill to keep that natural 90-degree bend while moving on a steep uphill slope.
Likewise, when making your way downhill, lengthening your poles a couple of centimeters will allow you to swing comfortably while planting into the ground stably. Additionally, since the angle of your wrist is increased as you move downhill, loosening your wrist straps will help you swing forward more adequately.
When planting your poles, gently place them slightly ahead of you for subtle support. Take small gentle steps forward while keeping your knees slightly bent. You want to be sure to keep your knees soft to protect your joints. When planting your poles, take care not to apply too much weight on your poles to prevent a slip and fall. When navigating steeper hills, try taking a slight zig-zag pattern across the path to lessen the angle of the decline, leading to a safer hike.
Using Trekking Poles on Stairs
Going up and down stairs is similar to going up and down a hill. The main difference will be adjusting the length of your poles, as stairs are typically steeper and more consistent than the slope on a hill.
Like when trekking uphill, be sure to swing your poles by your sides, plant your poles on the stairs, and push to step upwards. When making your way down the stairs, plant your poles on the step below and step gently down.
Practice, practice, practice
Like with anything, more practice and experience will help you find your groove and master the technique of using trekking poles. It can be helpful to practice adjusting your poles at home in your hiking equipment, so you can easily do so while on the trail.
Depending on the type of trekking pole you choose, there may be tips and tricks that work better for you. Some trekkers find that when using a pole with different segments, setting the bottom at the correct height and only needing to adjust the top segment makes for a quicker transition when on the go. Other trekkers find that having one longer-length pole and one shorter-length pole can be great for extended slants without having to constantly adjust.


you are very profession about hiking pole.
do you know there is a newest smart pole with emergency SOS alarm function and live intercom function?
i think by using this trekking pole, outdoor advantures can be more safer?
it suit to team work.
For walking, try shorting the poles by a foot or yor comfort level and placing your hands on their tops rather than sides.
This improves leverage and provides greater power.
Victor
For walking, try shortening the poles about 10 or 12 inches. Then place you hands on the top of each pole rather than at the side. This provides improved leverage and increased power.