
November might hardly seem like the time to start planning your 2024 thru-hikes, but permits have already opened for some of the long-distance trails. Now is the perfect time to prepare your finances, fitness, gear, and food prep as well. Here are the things you need to start looking into and planning now so that you can take off for the trail in spring.
Videos by Outdoors
Fitness
While you will gain strength and endurance on the trail, coming into the hiking already in shape will profoundly improve your experience. Proper fitness will help you travel more miles, reduce chances of injury, and manage your mental endurance. Use a combination of strength training and cardio to prepare your body.
If you don’t want to spend money on a gym, there are ways to get in shape on your own. First and foremost, hike. Challenge yourself and get a taste of thru-hiking by wearing a weighted pack while you hike. You can use any backpack you have already for this and add in heavy items like books, water bottles (1 liter of water weighs 2.2 pounds), or cans of food. If you already have all of your backpacking gear, you could perform practice hikes while carrying that as well. If you cannot regularly access hiking, running and walking on flat ground can still be beneficial.
For a thru-hike, you can increase strength with moves like lunges, squats, step-ups, and crunches. As you progress in strength, add weight to these moves. Again, if you are not looking to spend money, you can use household items. Grab a couple of gallon jugs of water (about 8.4 pounds) to use when completing these moves. You can also invest in resistance bands, which are helpful to build strength in your shoulders and arms. For inspiration, YouTube videos like this one from Chase Mountains can help guide you:
Food Planning
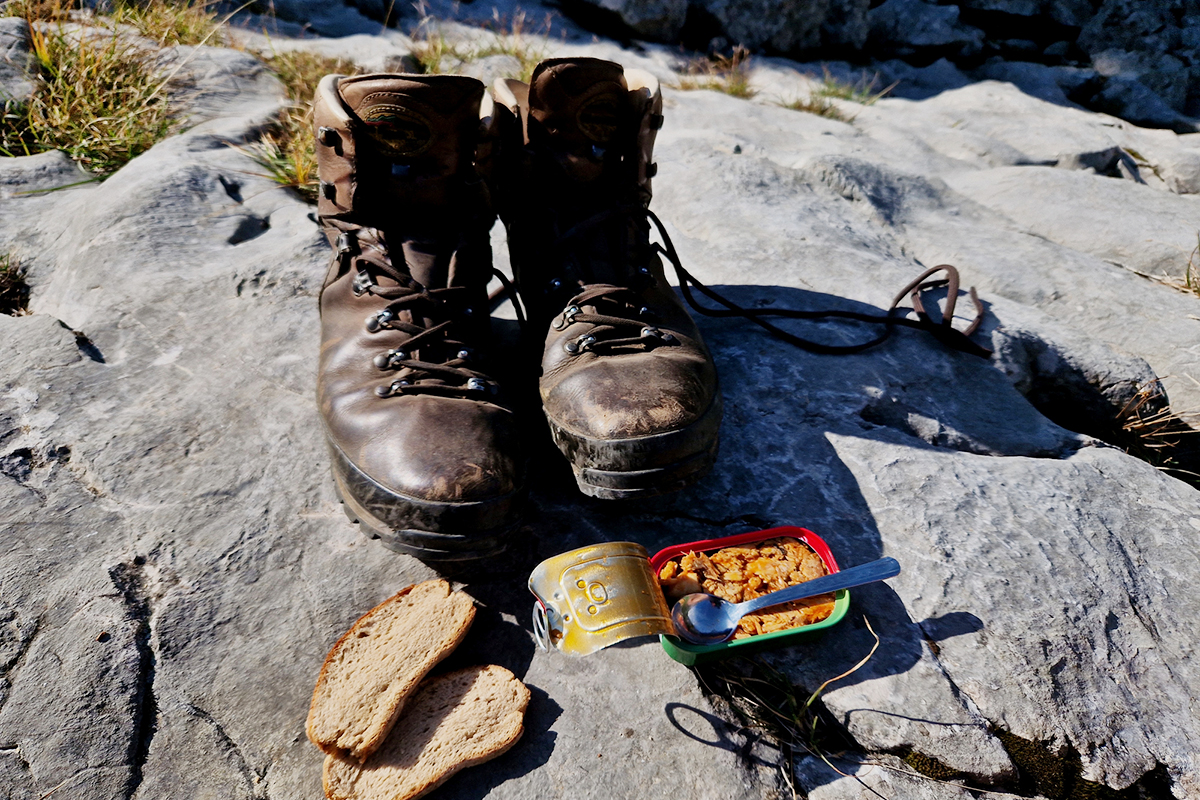
While there are plenty of thru-hikers who mail packages of food to each stop along their hike, there is a growing movement to shop for resupplies at trail towns instead. The idea is that your tastes change throughout a hike. After all, there are only so many days that you can unwrap that strawberry Pop-Tart with enthusiasm. Many thru-hikers recommend only mailing out food packages to the first few stops along the trail or to sections that don’t have stores offering abundant food options. Of course, if you have special dietary needs or specific products that you want (vitamins, medications, protein powders), consider mailing packages, because you might not find them along the trail.
Though you may decide not to mail yourself resupply packages, you should begin to think about a food plan for your hike. Depending on how long you are hiking, counting calories and ensuring proper nutrition become very important. Without the right food, your body can start to feel sluggish, tired, and weak. In this state, there is a higher risk of injury, mental fatigue, and possibly illness.
Typically, a thru-hiking person burns over 4,000 calories a day. Filling your caloric needs is certainly important (and will take maneuvering—fitting that much food into your pack will be hard), but you also need to account for the type of calories you intake. Fats, carbs, and proteins provide different benefits to your body and all need to be represented. This is why educating yourself now and researching the types of backpacking meals that will benefit you the most will help down the line. If you want more in-depth education on proper trail nutrition, the Backcountry Foodie is a great resource, offering meal planners, nutrition coaching, recipes, and resupply services.
If you do plan to mail food (or fresh clothing), check with your specific trail for more information about when boxes need to be shipped. Some places have specific time windows they will keep or receive your packages, are particular about types of containers, and have other requirements.
Budget
Believe it or not, thru-hiking does require money. You will need to resupply food, replace gear, pay for the occasional hotel room or shower, and possibly pay for transportation. Maybe you sprained an ankle and need to spend a week in town recovering. Things come up, and you need to be prepared with savings to pull from. The worst possibility would be getting forced off the trail because you can’t afford to keep going.
A general rule of thumb is to expect to pay $2 a mile. For the 2,650-mile Pacific Crest Trail (PCT), a good starting budget would be $5,300. This is variable, of course, and to err on the side of caution, you should probably expect to spend more than that. Not to mention, that this $2/mile formula is calculated only for your needs once you are on the trail. This does not include the price of expenses at home (debts, mortgages, car payments), transportation to and from the trail, or the gear you start with.
Apps like Goodbudget are a good way to budget before and during your hike. This app allows you to set aside money into specific digital “envelopes” to keep spending and saving separately.
Gear

While you can use the gear you already have for your thru-hike, there are some considerations, as mentioned below. If you cannot afford to purchase new gear before a hike, however, don’t freak out. Chances are, you will replace, trade, or discard items from your pack while you hike. Also, be sure to tap into resources like the Backpacking Gear Flea Market Facebook group to find discounted gear.
Weight
Due to the large number of miles and havoc on the body a thru-hike demands, you might consider opting for lighter gear. Some recommend keeping your base weight (backpack, tent, sleeping bag, and sleeping pad) under 10 pounds. This will help your joints from straining more than they need to and will help you zoom through more miles. However, it is not necessary to be ultra-lightweight to head out for a long-distance trail.
Experience

On that note, don’t get sucked into buying an ultra-lightweight freestanding tent if you have no experience with one. Likewise, don’t head out with a frameless pack if you’ve always worn a framed pack. While minor adjustments for seasonality or weight are acceptable, make sure that you are very, very comfortable with the gear that you are bringing along. The only thing worse than having a heavy piece of gear is having a useless piece of gear.
Season and Climate
Depending on the hike you embark on, you may be traveling through different seasons. For example, the expected time to hike the Appalachian Trail (AT) is 5-7 months, which means you’ll be hiking in shifting weather. Likewise, hikers on the PCT or AT travel from the desert to well over 13,000-foot mountains. This means that you may need to have gear that is either suited for three seasons or have gear you can switch out.
Bear Country

Some trails require that you store all food in bear canisters. On trails like the PCT, this is only required for a section of the Sierra Nevada Mountains. Never disregard requirements like these. Not only do you put yourself at risk of losing all of your food, but you also put the life of the bear at risk. Fed bears are dead bears.
Emergency Supplies
Make sure to bring some sort of satellite communications device like the Garmin inReach. Also, make sure to bring paper maps of the trail and understand how to use them. Even if you have a map of the trail downloaded on your phone, it is always recommended to have a backup option.
Trekking Poles
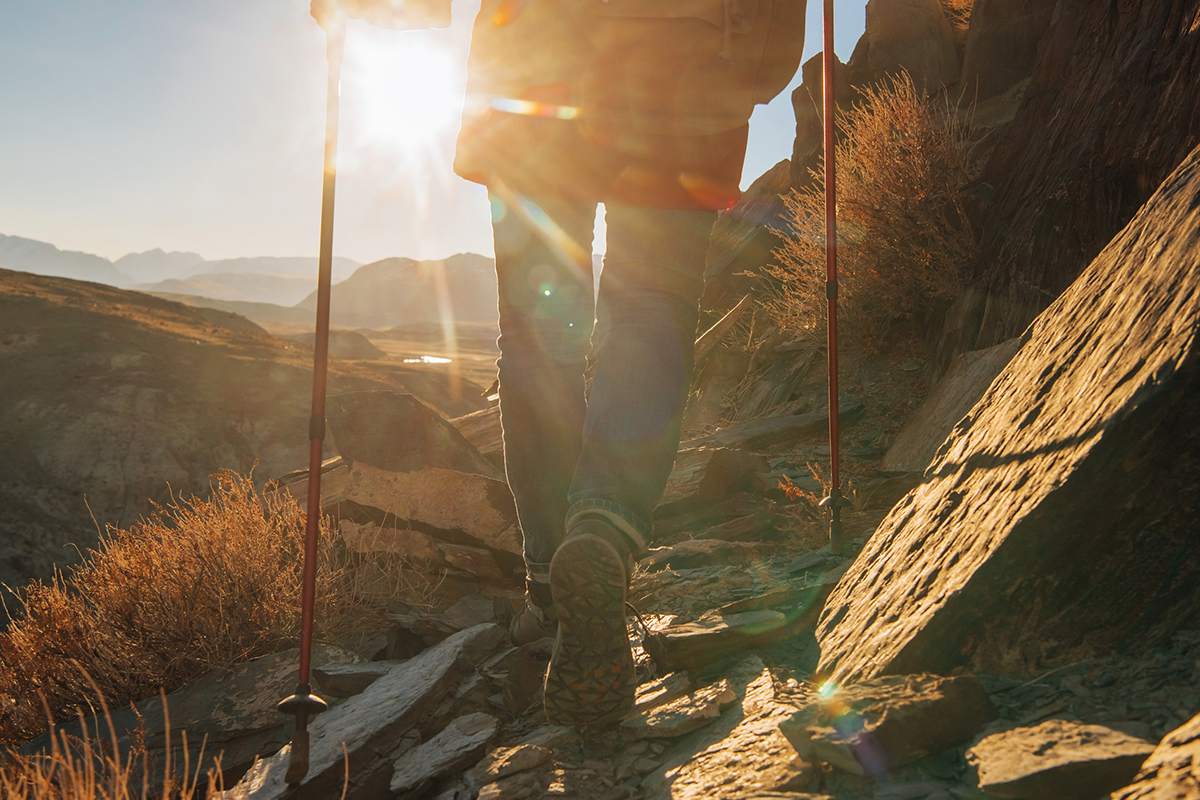
For more casual hikes, you might not feel the need for trekking poles. However, for longer hikes, they help alleviate pressure on your joints during steep sections. Because you have the extra weight on your back, being able to take pressure off might mean the difference between a happy hike and a miserable one.
Permits
Of course, any hike you do may have required permits, whether that is a 10-mile hike at the nearby state park or a 3,100-mile hike of the Continental Divide Trail (CDT). Below is some brief information on the permitting process and timeline for the Triple Crown hikes (PCT, AT, and CDT), but know that other long-distance trails will probably require a permit as well. Some, like the John Muir Trail (JMT), open up six months in advance and are very competitive. For competitive trails, consider starting at a less popular time or from a less popular trailhead.
AT Hikers:

There is no trail-wide permit for the AT, or, for that matter, a start-date commitment. Hikers wanting to take off for the AT can register their hike with the ATA, which allows users to see the least crowded start dates. March is the most popular time to start a hike, according to 2023 data.
Though you don’t need a permit to start the hike, you will need to obtain one for three sections of the hike:
- Great Smoky Mountains National Park: if you plan on starting and ending your hike more than 50 miles from the park, you will need to obtain a thru-hiking permit. They are $40, non-refundable, non-transferable, and can be obtained 30 days before entering. The passes are only valid for 38 days after obtaining, and thru-hikers only have eight days to cross through the park. Apply for one online, but be sure to print one out, as paper copies are required. The Fontana Dam Lodge is a popular place to buy and print permits near the park.
- Shenandoah National Park: the permit for this park is free and can be obtained online or at self-registration stations along the north and south entry points. Though you can keep your permit on your phone, be sure to take a screenshot (in case you lose service) and have enough battery life. Otherwise, print out a copy.
- Baxter State Park: you will need a permit to climb the infamous Katahdin. It is free and can be obtained up to seven days before summiting. Permits are obtained in person at the Katahdin Stream Campground ranger station.
CDT Hikers:
Like the AT, the CDT does not offer one permit for the entire trail, so you will have to individually obtain these permits.
- Blackfeet Nation Fish and Wildlife Recreation Permit: permits are $20 and good for the year. They can be found online here.
- Yellowstone National Park: you will need a backcountry camping permit, which must be obtained in person no more than 48 hours before the start of your trip through the park at any ranger stations or visitor center.
- Glacier National Park: you must obtain a backcountry camping permit. Some thru-hikers obtain walk-up permits in person (especially those hiking southbound on the trail) when they get to the park or over the phone the day before you enter by calling (406) 888-7801. If you don’t want to chance it, permits open online on March 15 for the season. There are positives and considerations for both. Walk-up or day-before permits might make you need to be more flexible in your plans, but reserving ahead of time might mean that you need to hike more miles to get to your camp on time with your permit.
PCT Hikers:

Long-distance permits are available for the first round on November 14 and the second round on January 10. Hikers must register before applying for a permit. The deadline to register for round one is November 3 at 5:00 PM PST. The registration deadline for round-two applications has not been released. Any questions can be answered by the Pacific Crest Trail Association by email at [email protected] or by phone at (916) 285-1846.
A long-distance permit is good for those hiking more than 500 miles and will fulfill all other permit requirements on the trail. If you would like to just hike one section, make sure that you are fulfilling the permit requirements for that area. Some good general advice is to commit to your trip before you apply for a permit.
