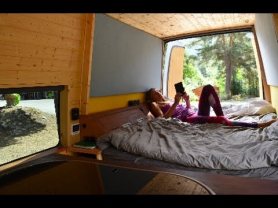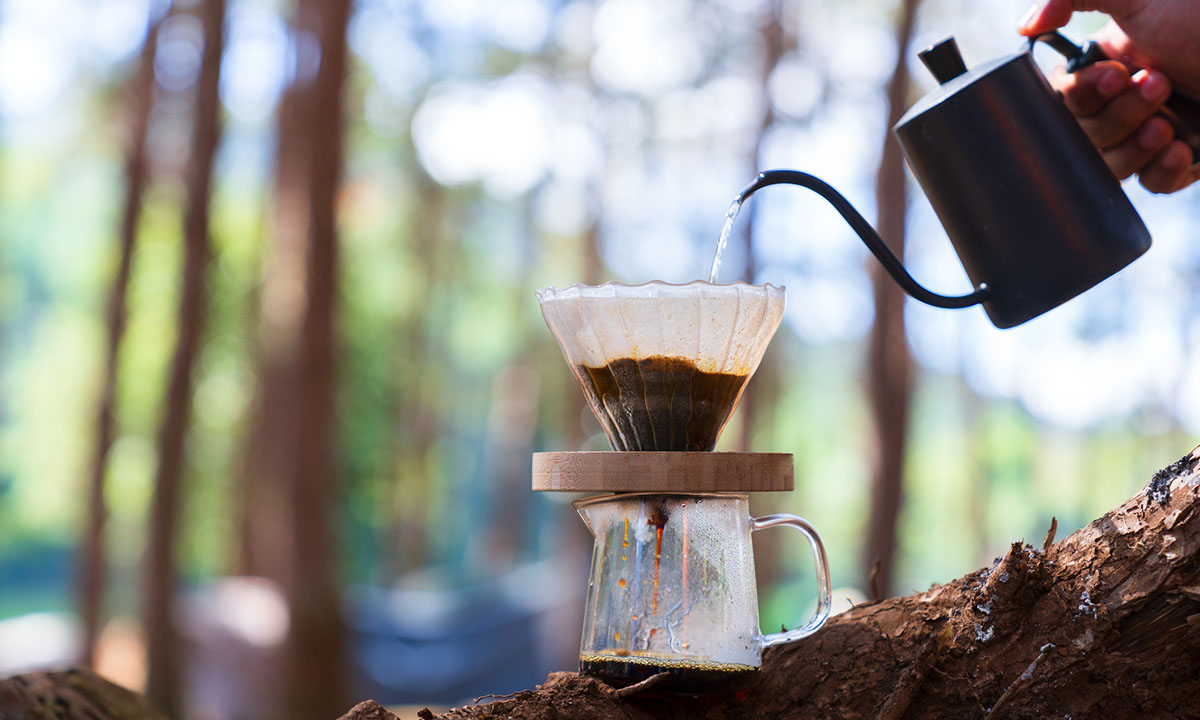

Few activities bring as much satisfaction as sipping on a steaming cup of freshly brewed coffee surrounded by the crisp morning air of your campground. For many, it’s not just a luxury but an essential part of the hiking or camping experience. This is especially true on multi-day excursions or thru-hikes, which are sure to leave you tired and in need of a morning boost.
Videos by Outdoors
Thankfully, there are several methods you can use to make great quality coffee while on the move. Whether you want to brew your coffee over an open fire like you see in traditional Western movies or you’re more interested in bringing the sophistication of third-wave brewing into the wilderness, there is a coffee camping process that will fit your needs and preferences.
What to Consider Before Making Coffee While Camping
Your existing camp kitchen
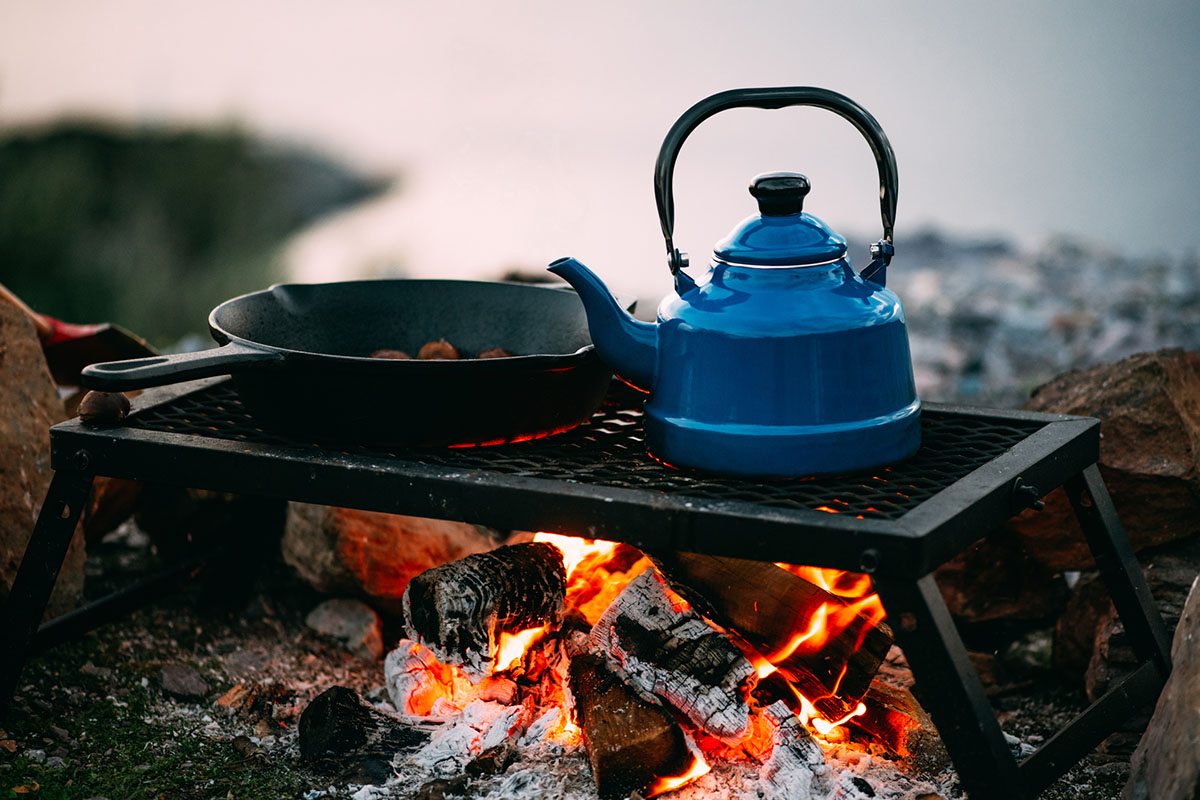
Take stock of what you use to cook while camping normally. Chances are, you already have most or all of what you need to start brewing excellent coffee in your camp kitchen. There are a few basic items that you are going to need regardless of what method you use to make your coffee, such as a heat source, a pan or other vessel to actually hold the coffee, your coffee grounds of choice, and finally some water. Once you have the essentials, you’ll be ready to go.
The type of coffee you want to use
There are a few different options to choose from. While it is true that you can bring any type of coffee with you on your next camping trip, the fact of the matter is that finding the right balance between simplicity and taste is the best course of action for saving time, space in your pack, and weight. The most common choices are instant coffee, pre-ground single-serving pouches (ideally compostable), or whole beans of your choice. Keep in mind that if you bring whole beans, you will also need to bring a grinder.
Optional extras
If you’re particular about your brew, you may want to bring a few extra gadgets to enhance the sophistication of your coffee camping experience. For example, you may want to bring a hand-crank coffee grinder so you can keep your roast as fresh as possible. You can even invest in devices like the Wacaco Nanopresso that allow you to pull your own shots of espresso, complete with crema, anywhere. Keep in mind that items like these are optional and may not be worth it if your pack is already stuffed full.
Methods for Making Coffee While Camping
Easiest: Coffee bags
The easiest—although perhaps not the tastiest—method for brewing coffee while camping is to simply drop a coffee bag into a mug of steaming hot water. Just like a tea bag, coffee bags are tossed into hot water and left to steep for a few minutes before being removed. Aside from being incredibly easy, coffee bags also prevent the grounds from swirling around the liquid, which can be difficult to achieve without proper equipment. If you’re looking for the path of least resistance, regardless of the flavor profile, this is the right method for you.
How to brew coffee using a coffee bag:
- Bring water to a boil.
- Remove water from heat and let it sit for 2-3 minutes.
- Portion water into mugs.
- Drop the coffee pouch into the mug.
- Let it steep for 3-5 minutes.
Most traditional: Cowboy method
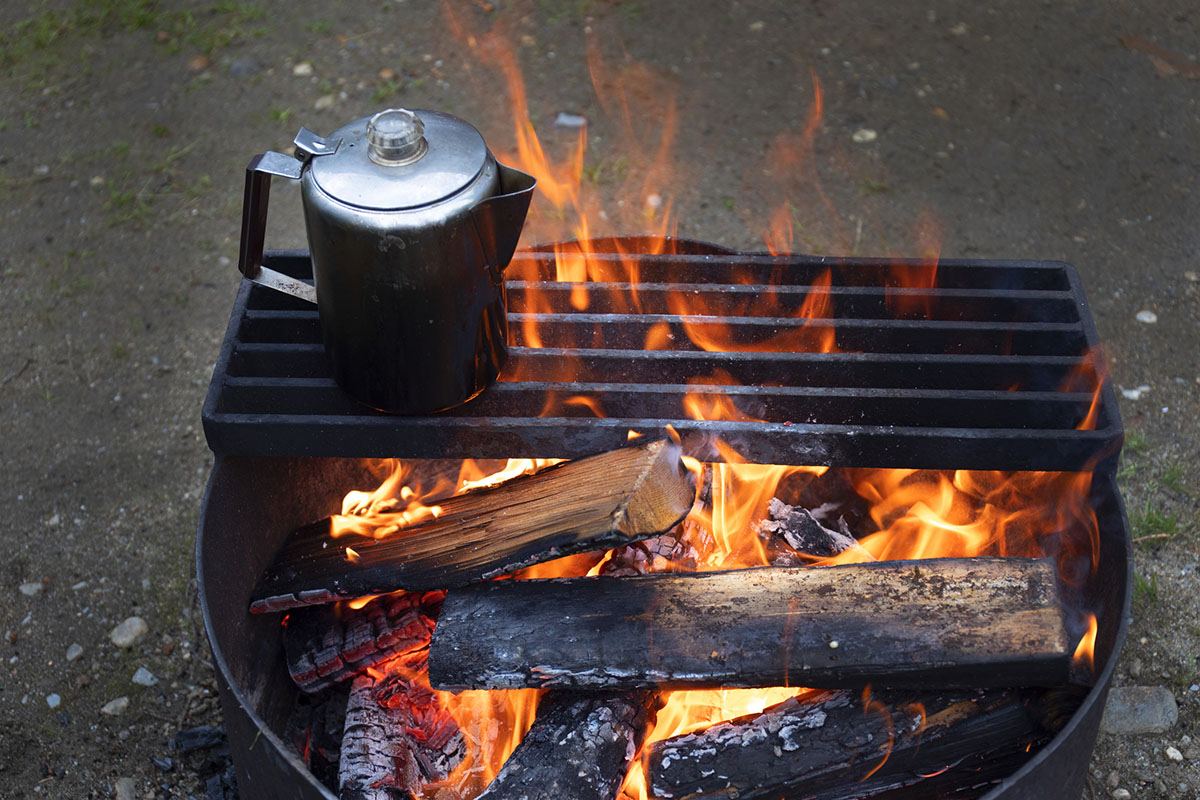
The cowboy method is a tried-and-true way to serve up rich, smooth black cups of joe while camping. All you need to make coffee with the cowboy method is ground beans, water, a heat source, and a pot to boil everything together. Think of the cowboy method as a French press but without the filter. Don’t worry though, you won’t get a mouthful of grounds using the cowboy method.
How to brew coffee using the cowboy method:
- Bring a pot of water to a rolling boil.
- Once a rolling boil is reached, remove the water from the heat.
- Mix your coffee grounds of choice into the water.
- Let it steep for 3-4 minutes.
- Add a splash of the coldest water you can find to settle the grounds to the bottom of the pot.
- Stir, and add a tablespoon or two of cold water as needed.
- Serve and enjoy.
Best for truly gourmet coffee: the AeroPress Coffee Maker
The AeroPress is a simple, portable coffee maker that combines the benefits of the pour over method, a French press, as well as a pneumatic press. The AeroPress consistently delivers rich, smooth coffee without too much trouble. Once you’re done with your brew, the AeroPress is easy to clean and incredibly compact, which makes it even more camping-friendly. If you’re interested in the AeroPress but want the ability to make more than one cup at a time, you might want to invest in a portable French press. If you go this route, make sure to get a French press made from metal, not glass. Both the AeroPress and a regular French press give you the ability to take kitchen-quality coffee wherever you go.
How to brew coffee using an AeroPress:
- Add medium-fine ground beans and water into the top of the press, then place the whole device over a mug or camping canteen.
- Stir the grounds and water together for 15-30 seconds.
- Insert the top tube into the AeroPress and press it down slowly. Aim to apply even pressure throughout the press to get the best brew at the end.
- Remove the AeroPress from the below mug, set it aside, and enjoy your coffee.
How to brew coffee using a portable French press:
- Add medium ground beans and hot water into the press and insert the filter at the top of the press.
- Let the beans steep for 3-8 minutes.
- Press the filter down to the bottom of the canister and pour into your cup.
Additional Tips
- Unless you are using the cowboy method, it’s best to brew your coffee with water that’s just about to boil. A rolling boil will burn your beans; the ideal temperature is between 195 and 205 degrees Fahrenheit.
- If you like cowboy coffee but find your brew is too bitter from time to time, throw in a pinch of salt or, believe it or not, some clean, crushed eggshells. The eggshells contain alkaline, which neutralizes the acidity of the coffee.
- The longer you let your coffee steep, the stronger it will be. This same principle is part of what makes cold brew coffee so much stronger.

