
Winter provides a beautiful excuse to don your backpacking gear and trek into the wilderness. It can extend your camping season, allow you an intimate adventure in a normally overcrowded area, or help you to experience your favorite trails in a new way. Plus, when you’re backpacking in the snow, you likely won’t have to compete for a permit.
Videos by Outdoors
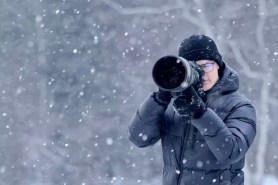
For Scott Benerofe and Justin Lichter, winter provided them an excuse to revisit the Appalachian Trail (AT) and Pacific Crest Trail (PCT), respectively. Benerofe completed a solo hike of the AT in 2022 and Lichter was half of the legendary two-man team that completed the first-ever winter thru-hike of the PCT in 2015.
“I found winter backpacking to be the most challenging and humbling thing I’ve ever taken on,” Benerofe says. “I’ve run a few ultramarathons since then, and I’ve done a bunch of other stuff, and putting a big, heavy backpack on in the winter and walking around has been the most amazing, humbling, challenging thing I’ve ever done.”
This guide, with expert advice from both Benerofe and Lichter, aims to unlock the world of winter backpacking so that you may feel empowered to take on the challenge and beauty of winter.
Preparing for a Winter Backpacking Trip
Preparedness is key to a successful (and safe) winter trip. You can prepare yourself for a trip by checking your gear against temperature and weather, arming yourself with winter survival and first aid knowledge, and making sure you are physically prepared.
A sentiment both Lichter and Benerofe iterated was their need to practice before committing to their long-distance trails. “My big thing is to take baby steps,” Benerofe said. “That’s always my biggest piece of advice; try and change a few variables at a time.”
Benerofe mentioned that he camped on his deck the night before heading out for the trail to ensure his gear would keep him warm. If you can, this is a great way to test your gear and yourself without adding the pressures of having no escape. Exposure to cold environments before a trip will help you not only understand the limits of your gear and body but also help you acclimate.
Prepare yourself with knowledge, too. Take an avalanche education course if adventuring through snowy terrain. Avalanche education courses can help you make informed decisions during the winter. Find free classes from spots like the Northwest Avalanche Center.
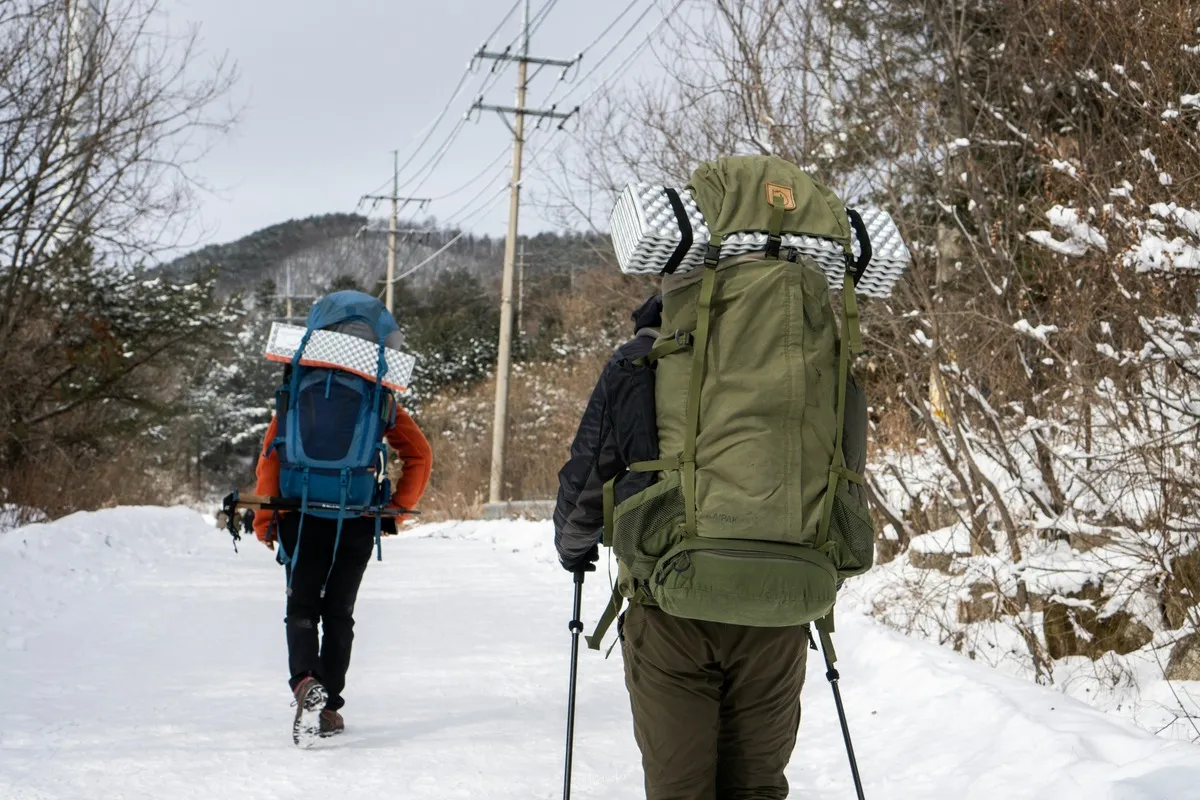
Also, prepare yourself physically. Moving in snow is hard work, plus your pack will weigh more than it does in the summer. The added elements will put your body through a test, so get some experience snowshoeing or hiking through freezing temps with weight on your back.
Gear and Pack Weight
While you can use some of your summer items in winter, there are special considerations once temperatures dive below freezing.
Tent
A three-season tent is probably going to be fine for casual winter trips that end up below treeline on fair-weather nights. However, during winter, you should use a tent that will protect you from the elements and fit you plus your gear. Check that your sleeping bag can handle the temperatures you’re expecting and beyond. Experts at REI suggest making sure your bag is at least 10 degrees warmer than the outside temperature for a comfortable night’s sleep.
Stove
The type of stove you’ll need to pack for freezing temperatures will change. Liquid fuel stoves are more reliable than canister stoves in below-freezing temperatures. It is important to note, too, that melting snow to make water will use a fair amount of fuel, so have a backup if you are going out for multiple days.
Sleeping Pad
Another winter upgrade is your sleeping pad. Sleeping pads have insulation ratings called R-values. The ratings range from 1.0 to 8.0, and you’ll need a minimum of 4.0 in winter. This can be achieved by investing in a high R-value pad or doubling up on pads. Laying an air pad with an R-value of 3.0 on top of a closed-cell foam pad with a 2.5, for example, will result in an overall insulation rating of 5.5.
Clothing
Both Lichter and Benerofe stress the importance of clothing. “Especially for a one-night trip, just bring a full set of dry stuff to wear,” Benerofe said, including socks, leggings, hats, and gloves. Lichter mentions the need to layer everywhere: “People say layering and think of their core. Think the same thing for your hands and your feet.”
Grab wool or synthetic glove liners to layer under waterproof mittens or gloves. In your waterproof boots (look for an insulated boot and consider sizing up), wear a moisture-wicking sock with an insulating sock on top.
When all is said and done, don’t let your pack weight discourage you. “I have what I need and that’s it. If I have any less. I don’t feel comfortable,” Benerofe said of his 75-pound AT pack. “The weight means nothing itself. If I can get it on my back and it has everything I need, to me, that’s it then, right?”
Note: your pack for a shorter winter jaunt probably won’t come close to 75 pounds.
Choosing a Trail and Campsite
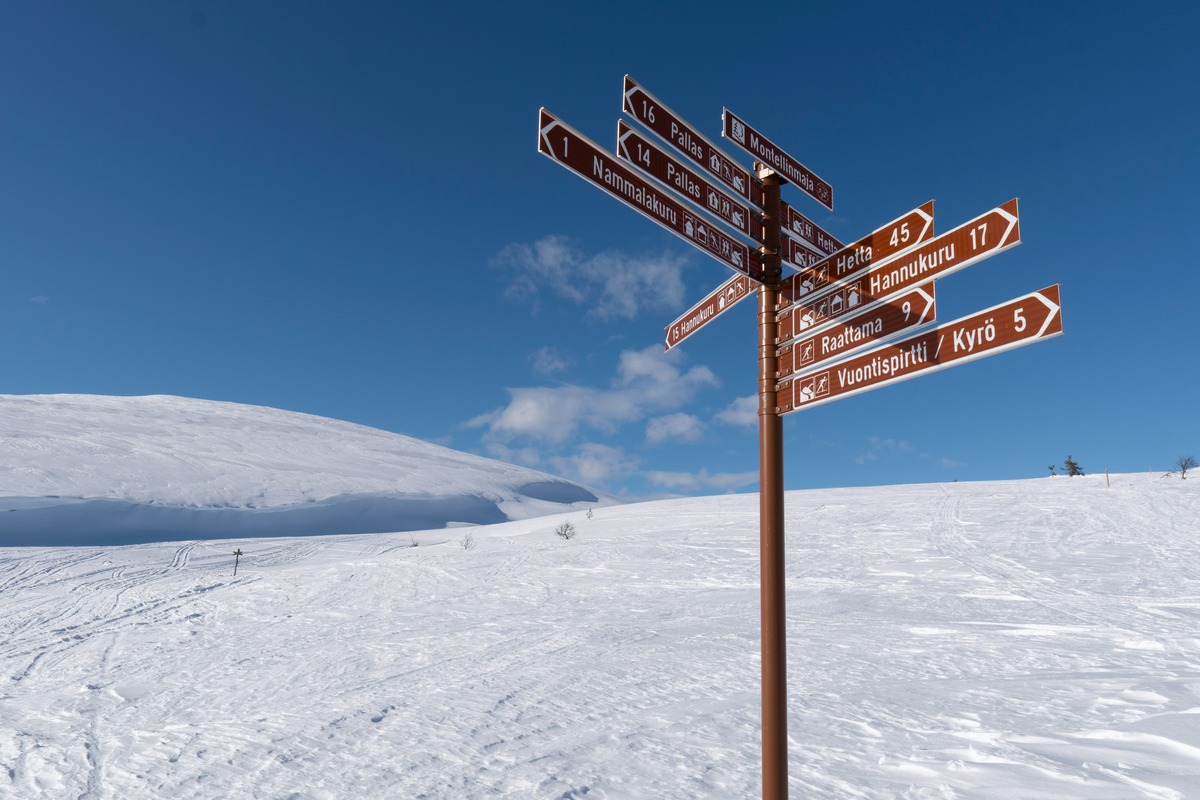
“Don’t do the most miles you’ve ever done in a day the first time you’re going winter backpacking and do some crazy mountain you’ve never heard of,” Benerofe warns. “Do something a little more predictable, somewhere you’ve been before.”
Both he and Lichter completed summer thru-hikes of their respective long-distance trails before attempting a winter hike, which proved to help Benerofe through the challenging sections of his winter AT hike. He says: “There were fewer of these big question-mark unknowns in front of me when I was tackling the trail, which was quite nice because there were so many other things that were new and unknown and scary.”
Choosing a Trail
To find a trail suited for your first experience, you should also consider the strenuousness of it. Aim for something short and flat. “When you’re planning your trip, try to be cognizant that your mileage and pace could and probably will be very different than a summer trip,” Lichter cautions. Especially with the limited daylight, you are better off underestimating what you can achieve than overestimating it. If there is snow present, knock that number down even more—aim for a mile an hour when going uphill. “There were days we moved for 12 or 15 hours and only got seven miles in,” Lichter continues. “And [we were] in top shape after a month on the trail.”
Choosing a Campsite
It does matter where you decide to camp. “If you camp by a lake or at the bottom of a valley—not in the trees—you’re probably going to be at one of the coldest spots at night,” Lichter advises. Stick to the treeline to be better insulated, “where it’s going to be a little more comfortable,” he continued.
If you are camping on snow, be sure to pack down the area you’ll put your tent on as much as possible. This will prevent the snow from melting with your body and tent heat.
Weather
Both Benerofe and Lichter kept a constant eye on weather forecasts when hiking. It would help them plan around dangerous weather.
Benerofe decided not to summit Mount Katahdin, the starting point of his southbound hike, because of the weather. In retrospect, he admits he probably could have made it up and back, “but would it have been a good idea? Would I have felt good about my decision? I don’t think I would have in that moment. And so I was okay with making that decision.”
Check reports and wait out the weather if needed. Understand that you may be hours (or days) away from a rescue team getting to you, and even then, you’re putting rescue teams in the same risky conditions you are in.
However, even after looking at the weather, be prepared for variance. “I think that one of the biggest things is probably realizing that the weather forecasts aren’t typically made for remote locations,” Lichter said. “There [are] a lot of microclimates in the mountains. Depending on the way drainages face, you could go from one drainage to the next and there could be significant differences in the depth of the snow or what the overnight temperatures will be.”
There is no shame in turning around or in seeking safety. “That was super important for me,” Benerofe said, “making a decision and honoring [it] and not beating myself up because of that decision. And I think it helped me build a lot of trust in myself, because I had to trust myself a lot to go out there.”
Drinking Water
Water is not simple in winter, despite, in some environments, there being an abundance of it in frozen form.
If there is snow, be prepared to melt it and use a pretty penny’s worth of fuel to do so. “It’s pretty easy, but it does take a long time,” Lichter warns. “And you can burn the snow.” Add a bit of water to your pot before you add snow to avoid burning it. Once melted, purify the water before consuming it.
“I only had to melt snow for water twice,” Benerofe admits. He preferred—and was in an environment that allowed him—to take an ice axe to a frozen body of water. “It would take me anywhere between 10 to sometimes 45 minutes to get through an icy riverbed or lake.” In some places, this might not be a possibility, because water may be buried under feet of snow.
In either case, do not rely on the availability of running water. Once procured, be sure to keep water close by at night (in your sleeping bag if possible) to keep it from freezing.
Staying Dry
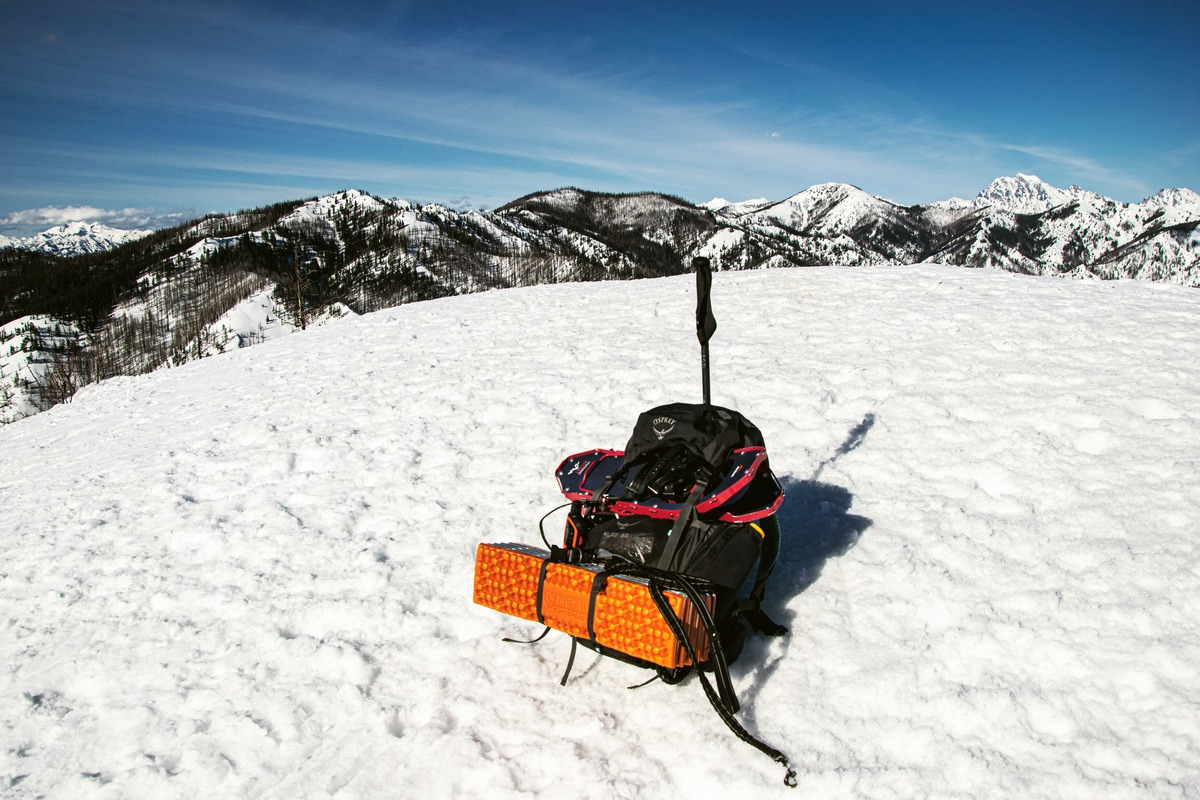
Staying dry depends a lot on your environment, as the advice of Benerofe and Lichter reveals. However, it is vital to keep your layers and gear as dry as possible. Wearing soaking-wet clothing or sleeping in a wet sleeping bag expels body heat faster and can increase your chances of hypothermia.
Dry Climates
Due to the dry climate of the PCT, Lichter admits that drying sweaty or damp items is easiest done in your sleeping bag at night. “If you’re touring and wearing ski boots, you could pull your boot liners out and put them in your sleeping bag and sleep with them.”
While he admits that completely soaked items probably won’t dry by doing this, he also said: “You could at least put it under your sleeping bag or between your sleeping pad and your ground sheet or something so it doesn’t freeze.”
Humid Climates
Over in the humid climate of the AT, Benerofe had a slightly different experience. “I found that nothing actually dried out in any fashion. Even when I wore stuff to bed, it would be better in the morning, but I wouldn’t say that I ever had any piece of clothing actually dry out,” he said. He had to think proactively about his limited layers and what would be best in the long run.
“What works for me is to just bite the bullet in the morning and wear as little as I can comfortably get away with while trying to keep my other clothes dry,” he said. “Because once I get moving with the heavy pack on, I warm up pretty quickly, so I don’t want to sweat into the extra layers I have.”
He would squirrel his extra set of dry layers until it was necessary to bring them out. “Even something as small as taking a drink of my water, I’d either lean over to the side or I’d reach out in front of me. Just so when I’m [drinking], I’m not doing it on or near any of my clothes, because spilling that on something would be a bad time.”
Neither Lichter nor Benerofe relied on fires to dry layers. “It isn’t easy to make a fire in the winter,” Lichter says, relaying that he only resorted to making a fire in emergencies.
Emergencies
Frostbite
While on his winter PCT hike, Lichter experienced frostbite on his toes after getting caught in an unexpected cold snap. A full day’s hike to the nearest town meant that he and his hiking partner had to decide the best course of action. They made a fire to thaw their toes, socks, and boots (a skill he recommends learning).
“We just layered up the next day and put Ziploc bags on over our socks and in our shoes so that we could stay a little bit warmer and get out to that road and kind of re-evaluate. “It can turn quickly. You don’t necessarily even realize it’s happening because you lose feeling. You have to be self-aware and figure it out.”
Experience and Self-Awareness
Unfortunately, Lichter admits that this sort of self-awareness comes from experience. “So maybe as you’re starting, if you’re getting nervous and uncomfortable and don’t think that you could change that situation, then it’s probably worth erring on the side of caution. But then you learn how to deal with situations and can grow that experience,” he says.
Benerofe agrees, noting that there is a difference between hard I-just-want-to-quit-and-be-warm-and-eat-pizza moments and moments that feel unsafe. “Deciphering those moments was a skill that I had to sharpen out there, because I was faced with the thought of quitting and turning around quite frequently . . . there’s always that little thing, chirping ‘it’s really warm in buildings.’”
Backpacking in the snow can be hard in ways you don’t expect, and an open, positive mind is important to make it through those moments. Lichter advises to suffer from “a little bit of short-term memory loss” while out there.
Benerofe mirrors the sentiment, saying: “Positivity is its own fuel out there.”
Please note: This is not a complete guide to winter hiking. Please do your research before you set out, including (but not limited to) winter first aid, avalanche education, weather, and proper gear. Always let someone know where you are and what your plans are. Always take a satellite device in case you need rescue.
